A Craft Organizer for the Crew
Save your cereal boxes! We are going to show you how to make a craft organizer to keep your mum from loosing her head every time you do one of our kool kids craft projects.
|
Spare your hard earned pocket money and make a homemade organizer. It`s easy when you know how. You could use it as a scrapbook storage too. |
 |
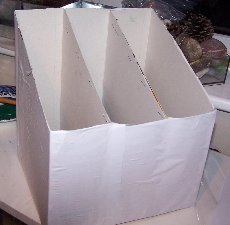
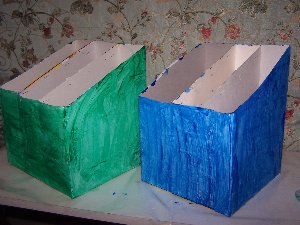
Cutting The boxes
The
crew are happy to demonstrate the process. You will need at least 3
cereal boxes to make it a decent size, but maybe 4 pr 5 if you love
drawing, painting, and making art stuff.
Iain
has cut his boxes to a nice file shape by cutting a carefully measured
line around the box. To measure and draw the line to cut, mark 9 inches
up the left and 6 inches up the right on one side of your boxes. Turn
over and mark 6 inches along the left and 9 inches along the right. Draw
a line connecting the points and cut.
If
you are good at measuring, you don`t have to stick to a straight line.
You can side-step it, or give it a nice curve as long as all sides are
exactly the same.
 |
Gluing Them Together The next step is to get some PVA glue and stick the sides of the boxes together like Iain is demonstrating. You can put a large rubber band around the base to hold it until it dries. |
Don`t worry too much that it may come unstuck as you will be covering your boxes with paper which will make it stronger and hold it together.
|
Now The Stapler We use staplers a lot for our cardboard box crafts but they need handling with care. We don`t want bleeding finger prints all over the craft organizer do we? If you`re not happy or too young to use a stapler use some strong and broad sticky tape if you have it. You can bind the edges later with it when you are done decorating. |
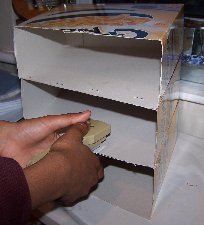 |
Iain has turned his boxes onto one side and is using both hands to punch the staples in which is an easier method to use. About 4 at each of the inside edges will be fine.
 |
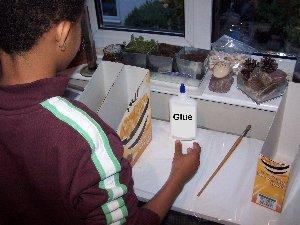
Covering The Boxes To cover your boxes you can use PVA glue or wallpaper paste. You will need about 3 sheets of white A4 paper but if you have spare wall paper around the house that would be even better. No patching up! Just paste a large enough piece of paper onto the boxes and cut off the excess. |
If you want to have a neater craft organizer, lay each side of the box onto the paper and draw around it, adding a 1 inch border. Cut out and stick each piece on, pasting the extra border inch over the edges.
|
Paint To Cover Ok! Time to paint! Choose what color you would like your craft organizer painted. As usual Iain goes for green, but James chose blue for this project. If you don`t want the patchy look you will need to paint a second coat when this one dries. |
 |
Maybe
even a third if the paint is thin. I suggest choosing a nice plain
colored paper instead of the white if you don`t want to paint.
The
crew like the patchy look and had in mind how to make use of it. They
left the boxes overnight to dry and continued their project the next
day.
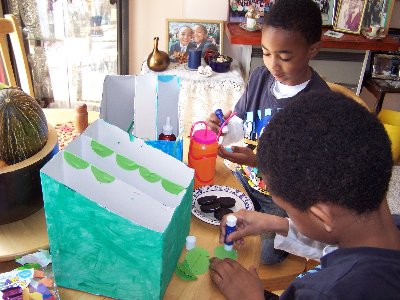
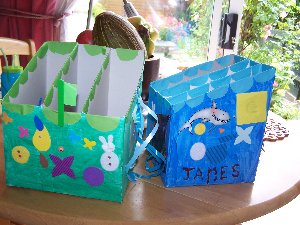
Finish Decorating
Here they are and look, they are having a happy time decorating the craft organizer. Circles to cover the staples was Iain`s idea. It worked very nicely. Can you think of something to bind the edges? You could use fabric or tape like we suggested earlier.
How did the crew improvise with the patchy looking paint? They cut out sea mammals and other marine creatures from some gift wrap paper and stuck them on the front. Then they used some ribbon and glitter for a seaweed design. Nice!
Both decorated the rest of their craft organizer with sponge shapes, stickers, gift ribbons, felt and glitter glue.
Do you think you can make these? Of course you can with Kool Kids Crafts.com
Go here for more Cardboard Crafts