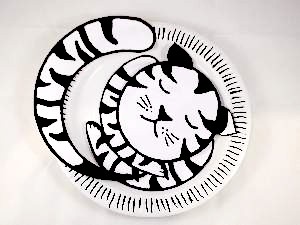
A Paper Plate Cat Fast Asleep!
Cats love to sleep curled up by the fire. This paper plate cat is easy to make. You can make it to curl up inside the plate or turn it over and make you cat look fat and lazy.
|
You can make your cat ginger, black and white patch, or stripey like this one. Oops! No printer? No problem! You can draw the pieces yourself. They`re not too hard to do if you use different sized circular objects to help with the curves. |
 |
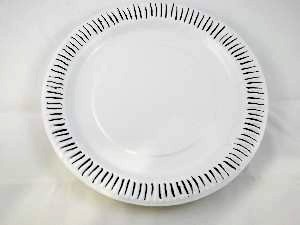 |
The plate does not need much doing to it. Just draw black lines in the groves around the circumference. If you want a colored paper plate cat then paint or color it with crayon or pen in whatever shade you like. |

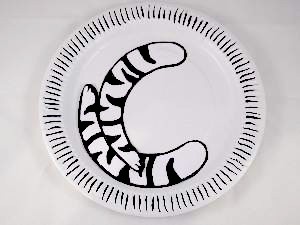 |
The legs will curve nicely around the inside of the place. They can cross each other or lay one above the other. After you position them glue them in place. |
To draw them use a small plate or saucer to get curved lines. Round them off at each end and draw some black curvy peaks to make the stripes. You can choose patches as an alternative.
|
The head is the next piece to add. Turn the head to the side and center in between the front legs. Stick in place. |
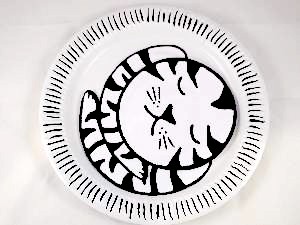 |
Make a copy on the other side exactly the same. When you are happy with it draw over the sketch with a bold black pen.
|
|
Stick on the ears making sure they are quite wide apart and placed in the right spots before you do so. |
|
If you are making your own pieces, use a larger plate now to make wider curves for the tail. You can color the end of the tail and ears as lots of cats have tipped tails and ears. Ah! He`s awake and looks like the cat that got the cream! See more paper plate crafts here... |
 |