Try Paper Weaving
for Gifts and Cards
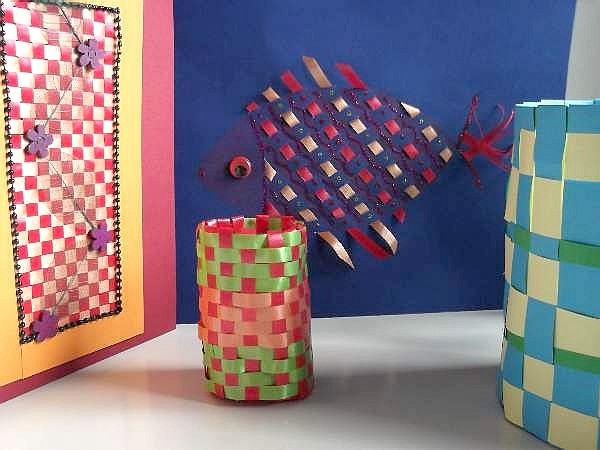
Paper weaving is fun and there are so many ways of doing it. The following crafts are KKC original designs and methods. Just follow the instructions and illustrations to make a lovely card, picture, or mini gift basket to give to your family and friends.
|
The materials that I have used here are easy to obtain at your local craft and card shops. Choose your own colors for the ribbon, paper, card, glitter glue, and crayons, and children should be under supervision when using a craft knife and glue gun.
|
|
Polypropylene curling ribbon
Thick card
Paper
Wide Sticky tape
Double sided sticky tape
PVA glue
Glitter glue (various colors)
scissors
Craft knife
Crayons or coloring pencils
Craft embellishments for decoration
Glue gun
Tooth pick
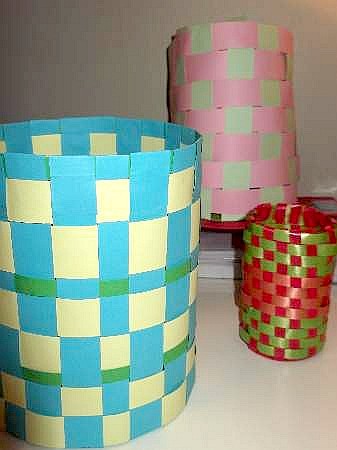
Paper Weaving Baskets
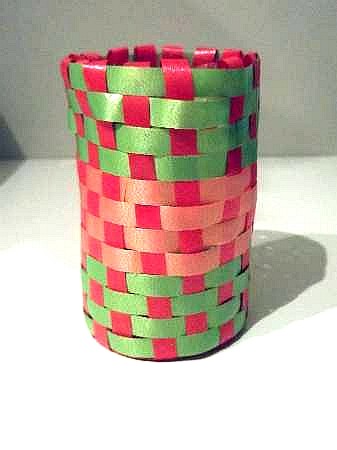
These baskets are great for presenting gifts. The mini basket can be used for nuts, sweets or fancy chocolates. Try wrapping them in clear cellophane and tied with the same color of ribbon.
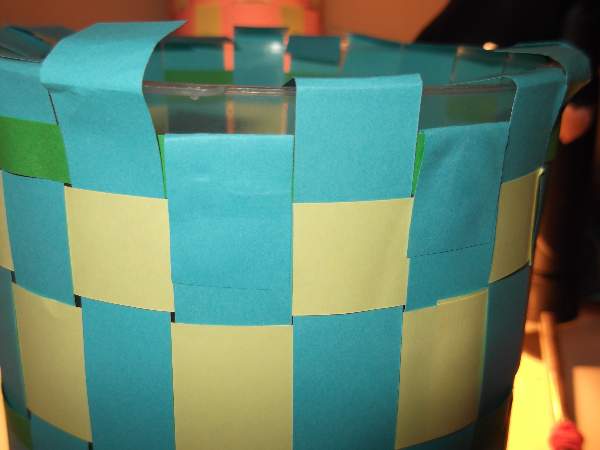
Here is how to make the large paper basket.
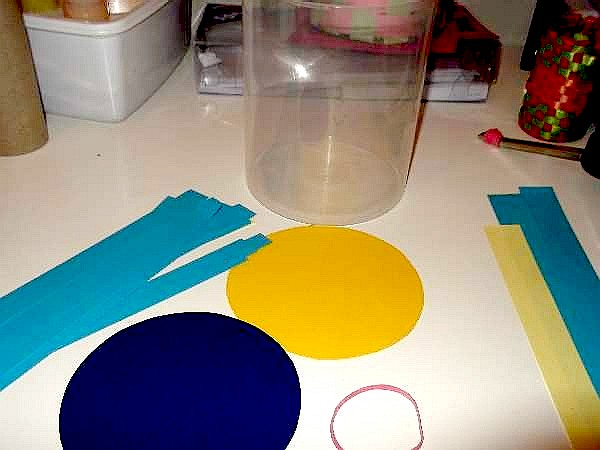
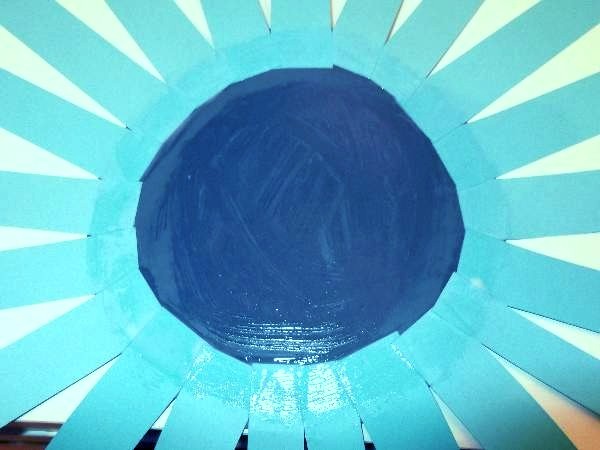
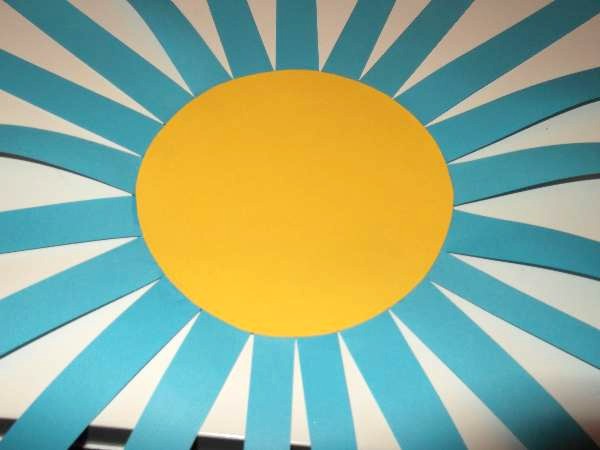
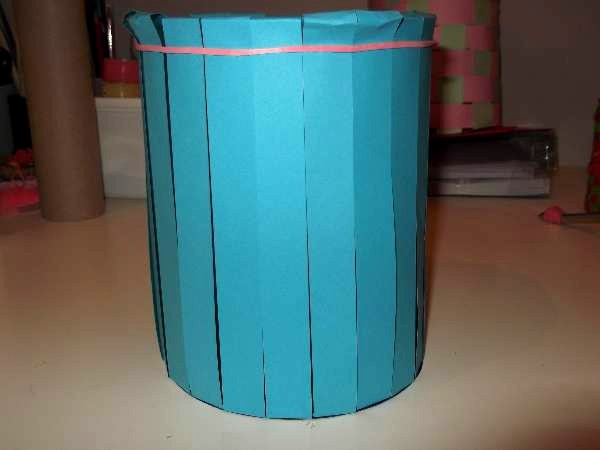
Choose a large cylinder container with straight sides and use the base to draw 2 circles on the card. You can make these the same color if you don`t have spare card for use like I do.
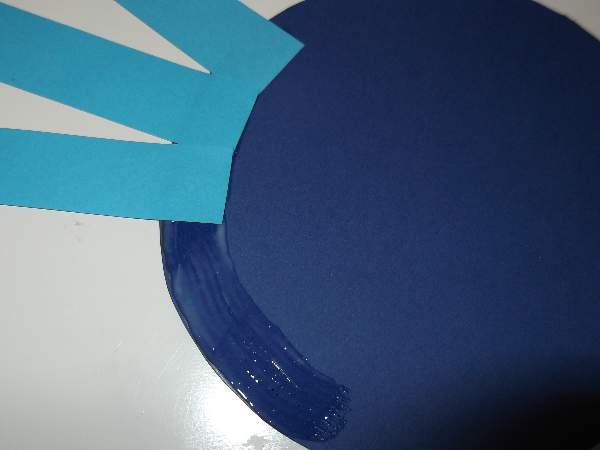
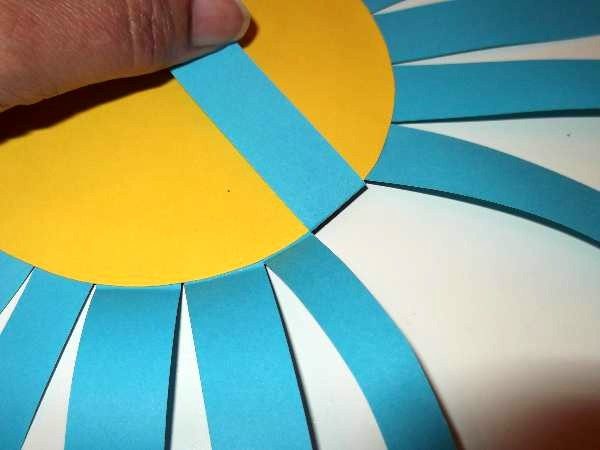
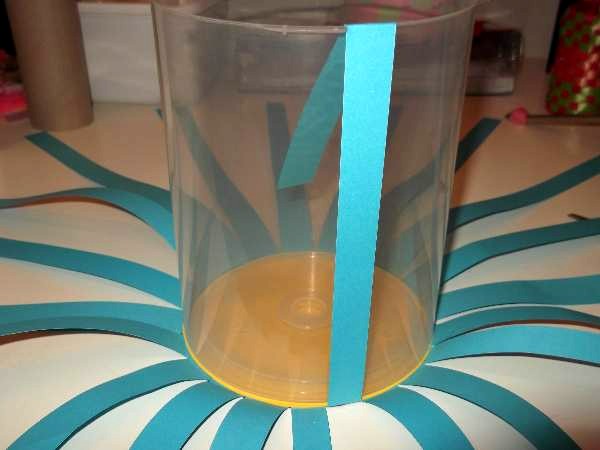
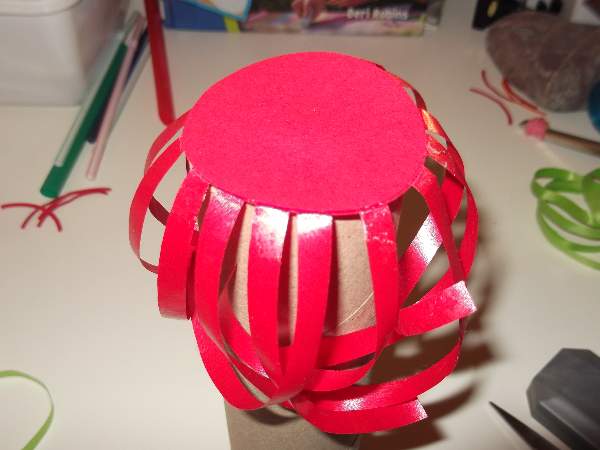
Now follow the illustrations. Cut long, identical strips of paper and past them around the disk and then glue the other disk on top. Once dry, fold all the strips towards the center and crease them. Put the container in place and gather all the paper strips and secure them against it with an elastic band at the top.
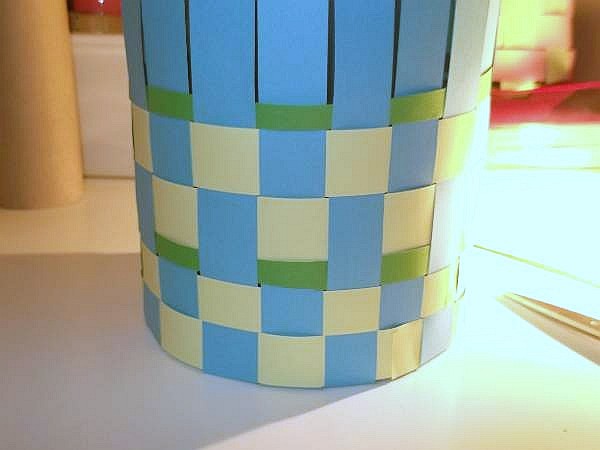
Cut contrasting color strips and weave each one around the container, in and out of the vertical strips. When you meet up with the other end cut and glue the paper together to form a band. On the next row you reverse the weave. Weave in different colors to make interesting patterns.
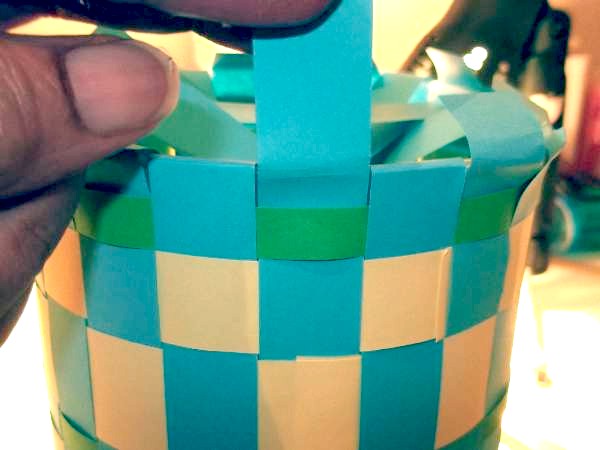
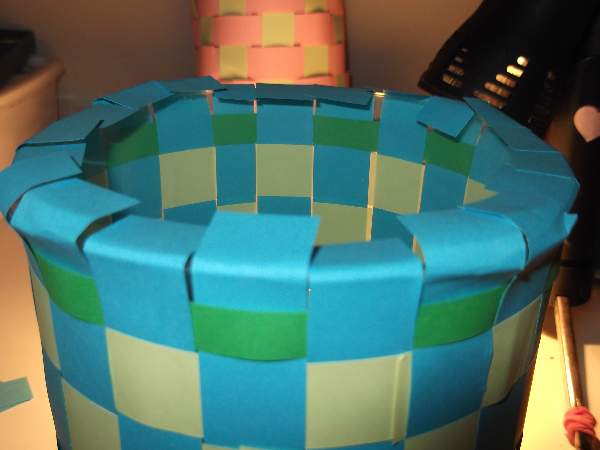
When you reach the top remove the elastic band and cut each strip 1 inch above the edge of the container. Now fold and glue each end in place over the last band. One will fold to the outside and the next to the inside. When the edge is finished turn the whole thing upside down and slip it off the container.
|
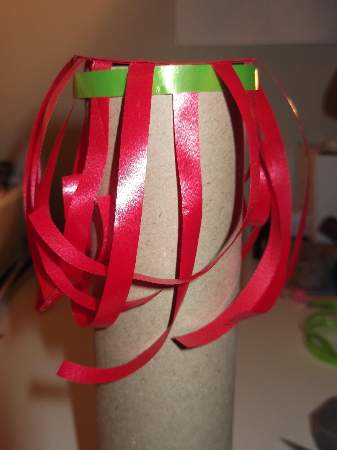
The mini gift basket is made of curling ribbon and is constructed differently, but I still used a cylinder to form it. This time a cardboard inner tube of a kitchen role came in handy.
|
|
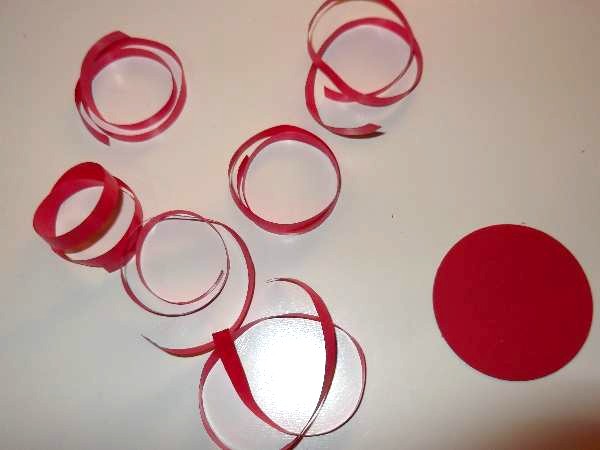
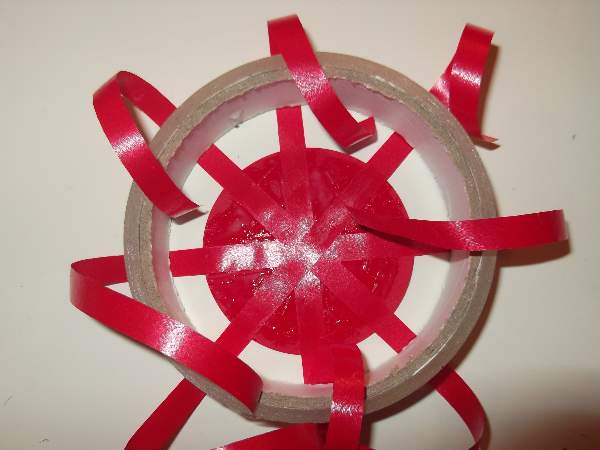
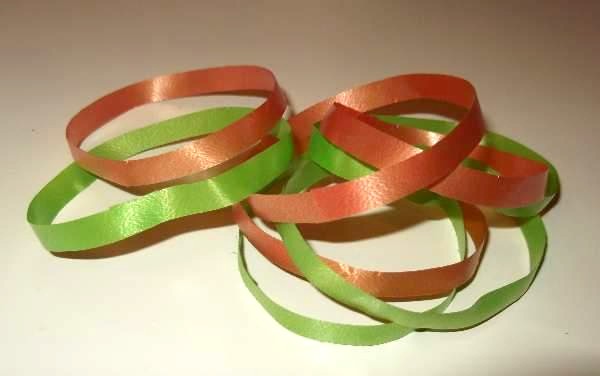
Cut 2 discs using the tube end as a template. I used a large sticky tape roll to hold the curly ribbon out of the way while I worked at sticking the ends to the disc. Place the other disc on top as I did with the larger basket, and while it is drying you can cut lengths of ribbon in various colors to make rings that fit snugly around the tube.
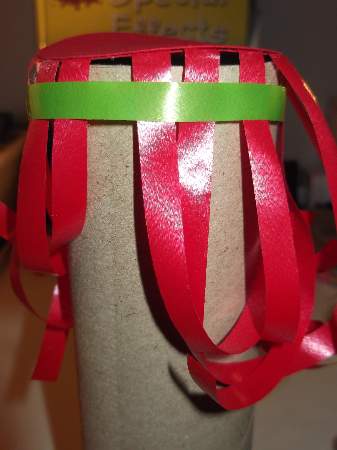
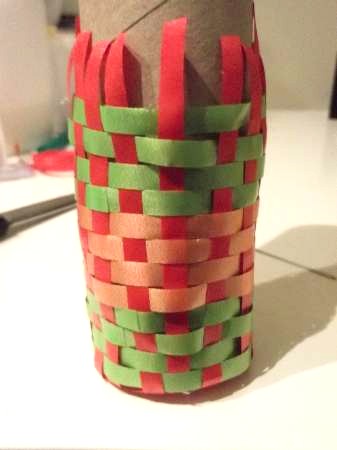
This time you will work Topsy-turvy placing the disc on top of the cardboard tube. take the first ring and slide it over the top, then pull every second ribbon out using the tooth pick. Slide on another ring and reverse by pulling out the other ribbons. Work in this way until you are about 1 inch from the end.
|
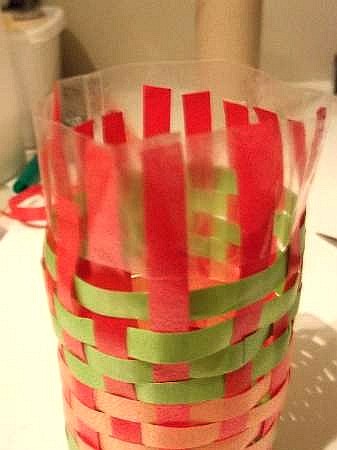
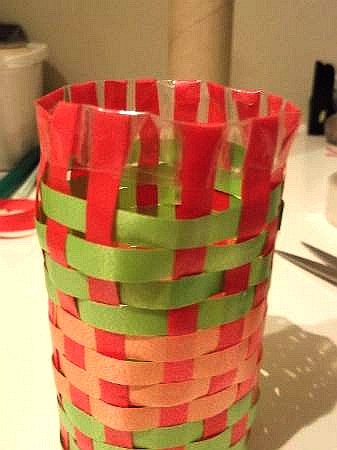
Before you remove the tube lightly place sticky tape around the ends. Try not to stick it to the cardboard. Once that has been removed you can now fold the tape in half with the ends inside. Fold a second time to the inside of the basket and tape in place.
|
|
|
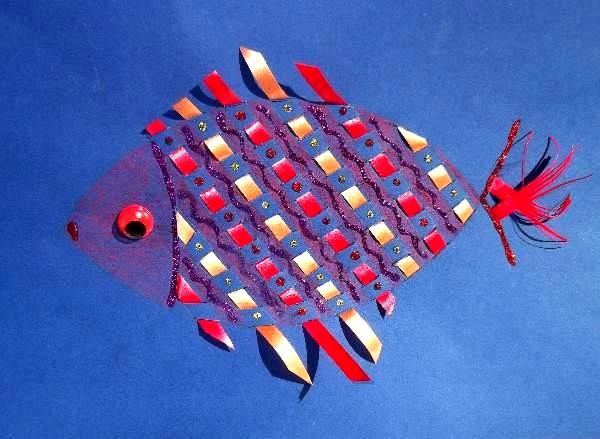
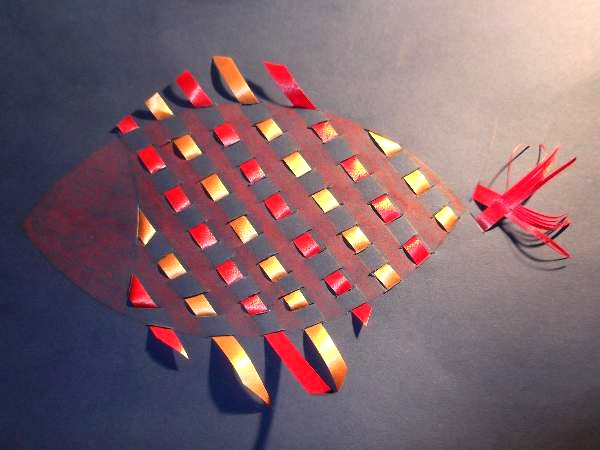
How about a KKC original fish with paper weaving for its scales? I tried it out and got great results as you can see. The picture doesn`t do it justice. In reality it looks like a fish made of shiny brocade. Very effective!
...and here is how I made it.
|
|
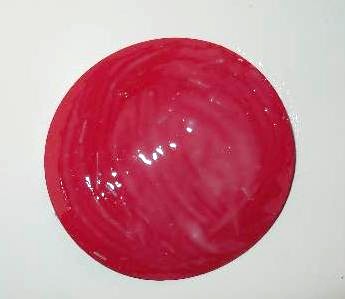
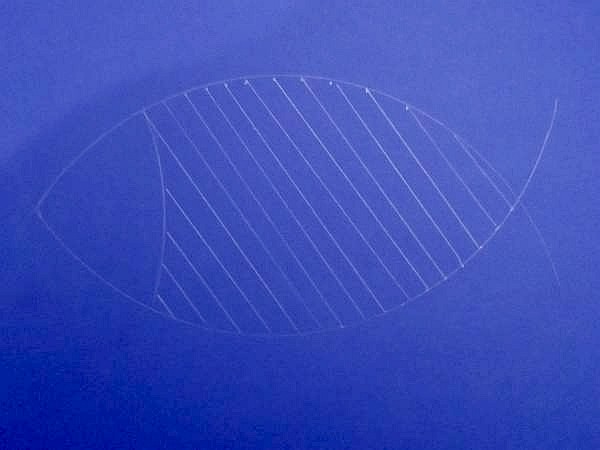
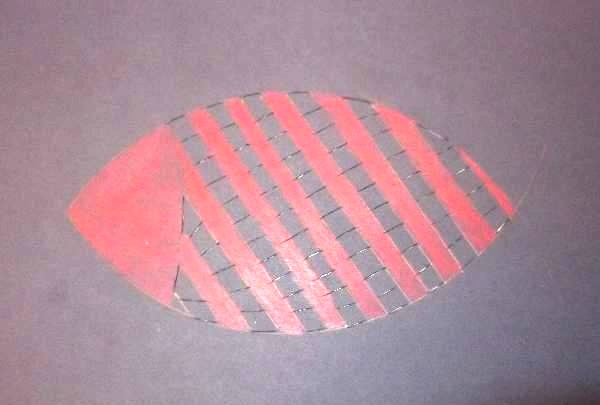
On a thick piece of blue card I drew the fish outline using the edge of a paper plate for the two opposite curvy lines. It worked a treat! Then I marked out the head and diagonal lines running parallel to each other with smaller lines running in between making them look like railway tracks.
|
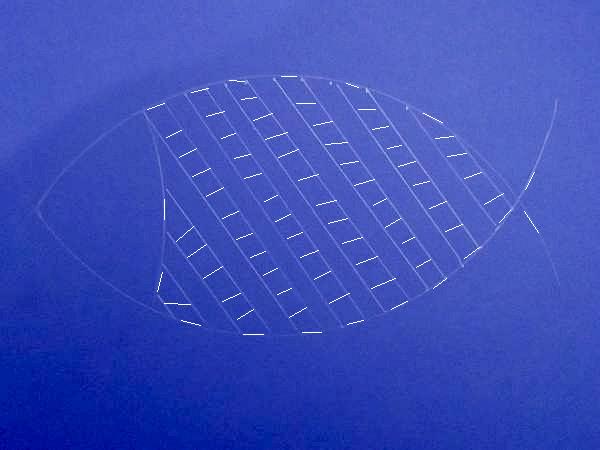
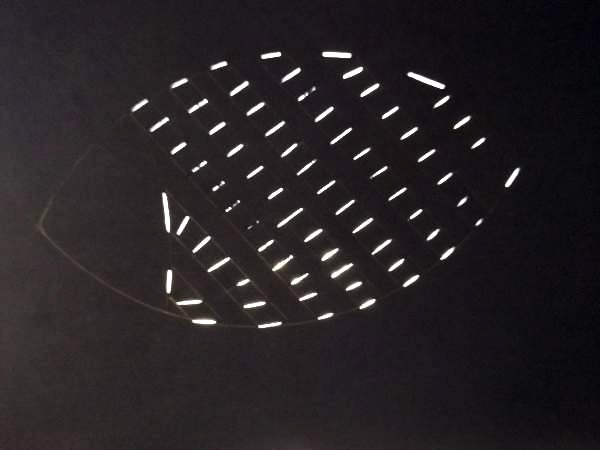
With a small craft knife and a thick piece of cardboard underneath my fish, I cut those smaller lines wide enough to thread the curling ribbon through. Notice how some of those little cuts are running along the outer edges of the fish and two are on the line between its head and body. These are important, so don`t leave them out.
|
|
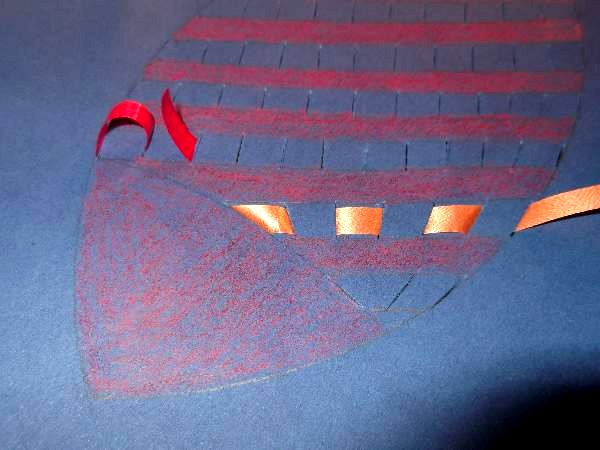
You can fill in the head and parts without cuts in what ever color you like.
|
|
Once you have completed that part, start the paper weaving. See the illustration to see how I have used the colors and left a good measure of ribbon at the ends for the fins. Fix the ribbon in place by taping it on the reverse side.
|
Shape the fins by cutting all the ends of the ribbon in a diagonal line.
The tail fin is made by snipping and shredding the ribbon ends. You can
use a sequin, button, or googly eye for your fish and fill in the body
with some jazzy designs.
|
|
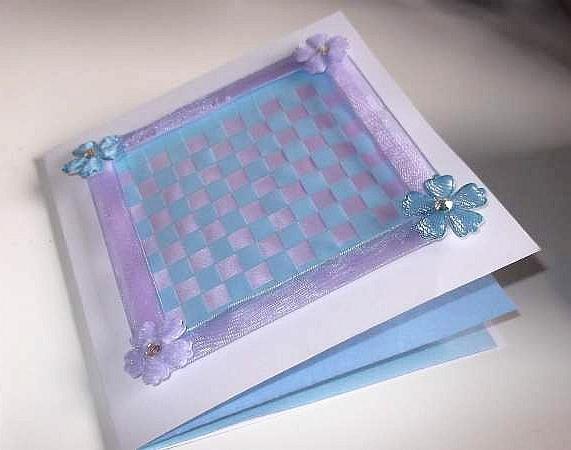
Greetings Cards
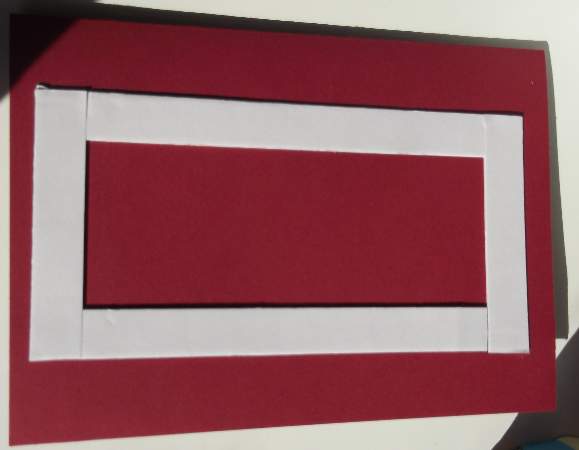
I love cards with paper weaving designs. There is no end to what you can create using this KkC technique. Here are two card designs to inspire the kids. Ready! Take your colored card and fold it in the center. With the double
sided sticky tape make an oblong or a square. If you are the
adventurous type you can experiment with more complicated asymmetrical
shapes. But we will stick with symmetrical for simplicity.
|
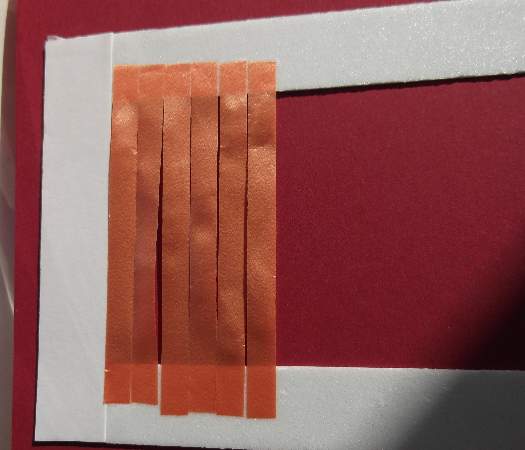
Leave the top backing of the tape covered until you are ready. Measure the width of the box and cut enough pieces of curling ribbon or paper if you prefer, 3/4 inch smaller to cover the shape when laid side by side. Now remove the backing off the tape on the long sides of your shape and stick each piece of ribbon, side by side, sticking down at both ends.
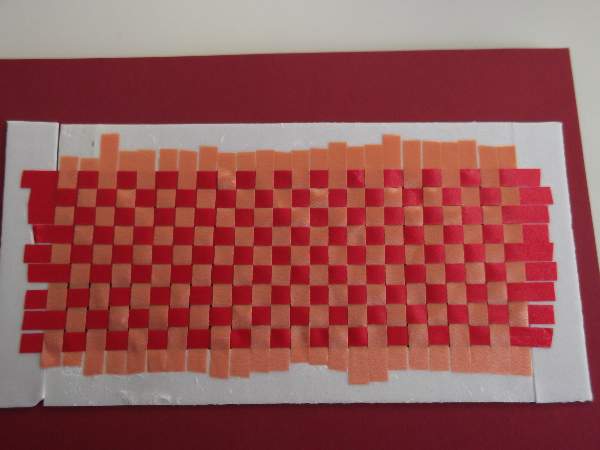
Do not remover the backing from the other 2 sides yet! But measure and cut enough pieces of a contrasting shade or color to weave the length of the shape, cutting them also 3/4 inch smaller.
|
|
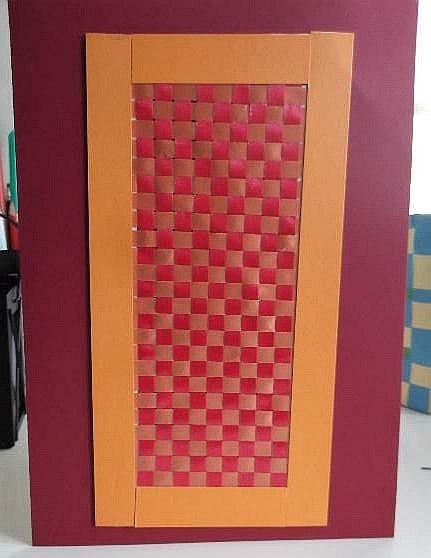
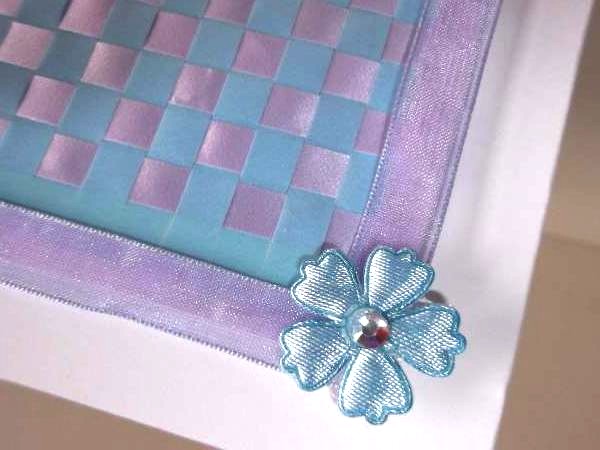
When you fill the shape with paper weaving measure and cut colored card strips to frame your design. They need to be the width of the double sided tape to hide it. Now remove the rest of the backing paper of the tape and stick the frame in place.
|
All that is left to do now is to add some extra artistic features. Use
buttons, feathers, sequins, whatever your imagination can come up with,
and your done.
|
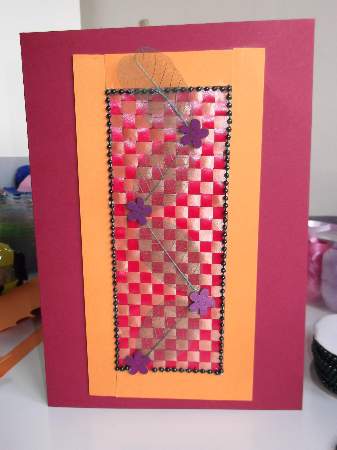
Here is the same paper weaving design using different colors and embellishments. It was given to a friend
who gave birth to a baby boy. An embroidered, iron-on teddy bear
was fixed to the inside which could be removed later and pressed onto a baby grow or
some other item of clothing.
|
|


