Spinning Tops are Kool Toys
So you want to make spinning tops to have battles with your friends? Well Kool Kids Crafts has the coolest in town. You don`t have to decorate in my style but can use smart stickers to make your own snazzy.
If you can use metallic stickers it will add weight so the top spins better, but it is not necessary, and don`t forget to keep everything centered and balanced to keep it spinning longer..
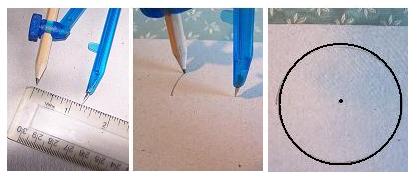
Drawing and Cutting the Disc
As you can see above, the first thing you need is very strong board for your spinning tops. For cardboard crafts it comes in different thicknesses, but you can get some strong stuff out of packaging as I did. Not too thick that you can`t cut it, but pretty sturdy. Use a compass to make the circle. Some people suggest just using a lid of some sorts but the trouble with that is you will find difficulty pinpointing the exact center. When you use a compass the sharp end marks the spot for you.
Measure 1 1/4 inches or 3cm and draw a circle on your cardboard. Draw it in the corner so you have space for some more. When you have done, cut out your circle carefully to make a disc.
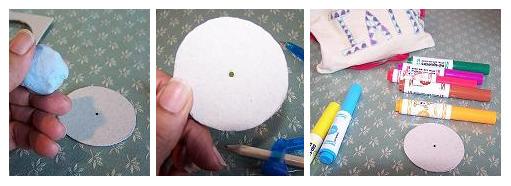
Coloring and Decorating
Ok, you need to make a hole in the center for your pin. We don`t want any emergencies so to do this safely, place a piece of blue tack, cork, or any dense material at the back of the disk. Positioned it in the center to stop the sharp tool you are using to make the hole. An awl will do the trick of metal knitting needle. When you have done this it`s time to color and add decoration to your spinning tops.
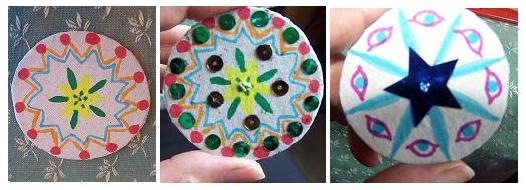
You don`t need to make the design symmetrical. It can be anything you like. Funny drawings like a cartoon character if your good at drawing them. Or it could be a name for your spinning tops team. Hmmmm! That`s a kool Kids Craft idea.
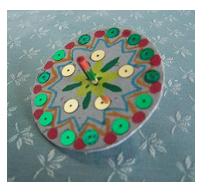
Keep in mind that the decorating with sequins, metallic stickers, or any other decorating that adds weight needs to be evenly balanced all around the disk as mentioned above. This KKC top spins up-side-down too, so decorate the B side! I have used gold and green sequins to compliment my design and on the reverse side, a large metallic star in the middle and some scarey eyes all around the edge. The metallic star worked out great for keeping the pin tight.
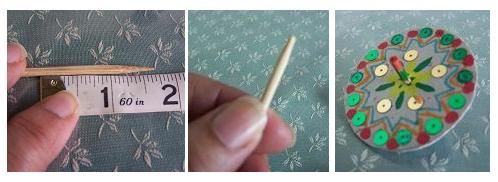
Making the pin is the next stage. You can use the ends of a skewer, with the tip clipped and filed down. This will help the top glide nicely. You can use matchsticks but nip of the sulfur. We don`t want to start any fires now, do we? Garden sticks are also good to use. I like using the ends of wooden skewer because it saves a lot of filing.
Coloring the pins adds a nice touch to your finished top. The last step is to push the pin through the hole. It should be tight, but if it`s not, you can apply a bit of glue. I used super glue but I do not recommend that for kids. Your fingers will get stuck fast and I will be in trouble. So NO SUPER GLUE KIDS! Or get an older person to do it if you insist on the stuff.
 |
Now you have some kooooooool spinning tops from our KKC cardboard crafts collection. Get spinning! |