Make a Doll From Fabric
|
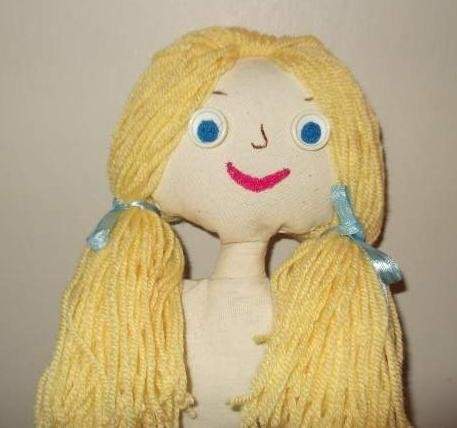
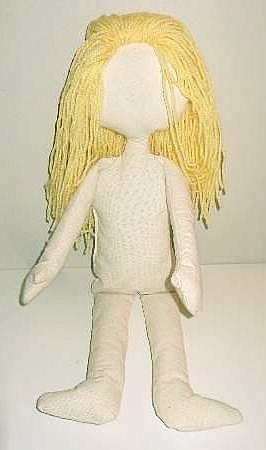
We are going to make a doll today! Meet Eleanor our bright and cheerful KKC rag doll. Follow the step by step instructions on how to make her. You can make your own character if you like. Use different colours of fabric for different nationalities. You can even make one from a bright colour with contrasting woolen hair. Go now and print off your free rag doll patterns and come back here for the next step. |
 |
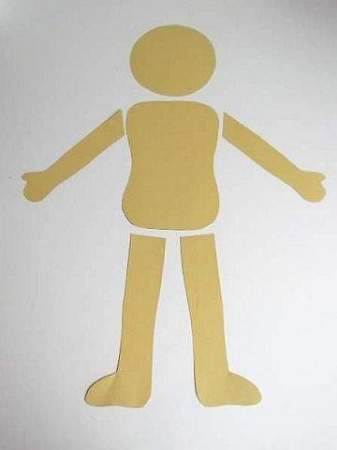 |
Pattern Sheet 2 Materials |
|
Materials and Tools |
 |
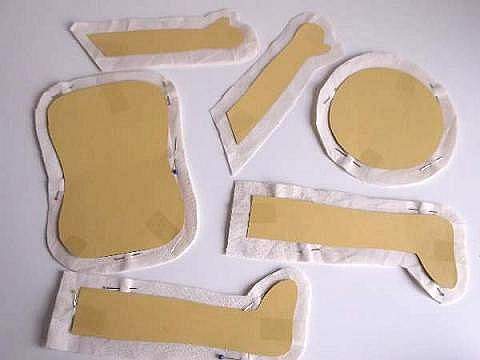 |
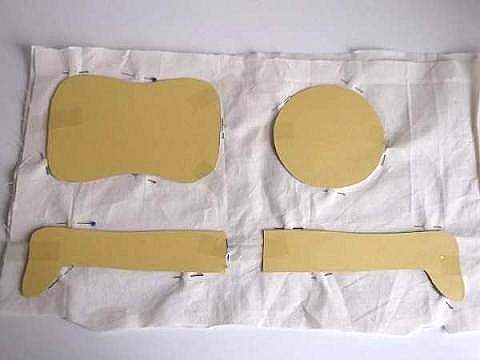
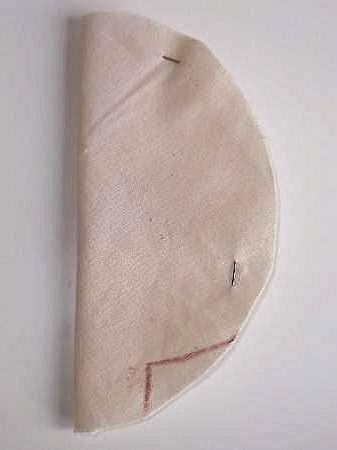
Step by Step Tutorial Pin the 6 pattern pieces onto your doubled fabric and cut out adding a 1/2 inch seam allowance around all of them. Fold
the head in half and draw an L shape like you see in the picture, then
cut it out. This will make the neck and make a doll face look chubby and
cute. |
 |
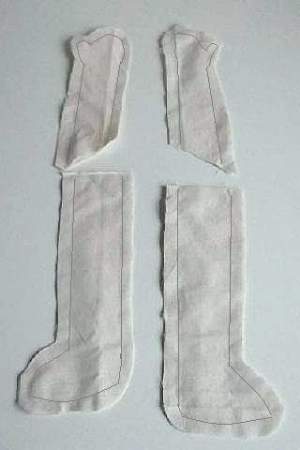
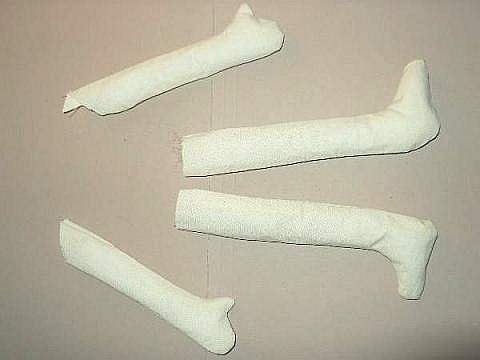
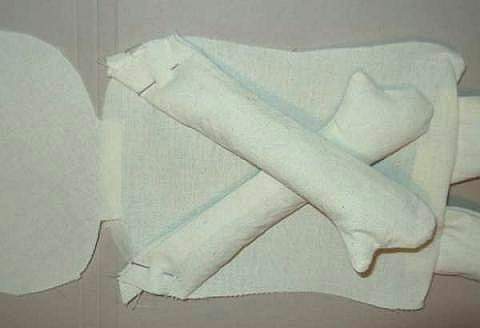
Now stitch the arms and legs together leaving a 1/2 inch seam allowance, but leave the tops open. |
|
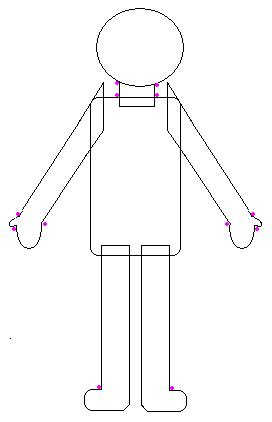
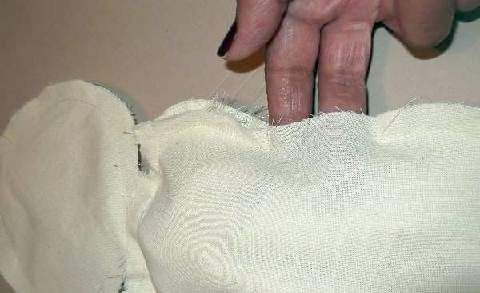
It is important that you snip inside the bends and joined seams close to the stitching. If you fail to do this the seam allowance will stop you from pushing the shape right out. See the pink dots in the picture on the right, to know which places you need to make the snips. You have 4 spots at the neck, 3 on each hand, and 1 on each foot 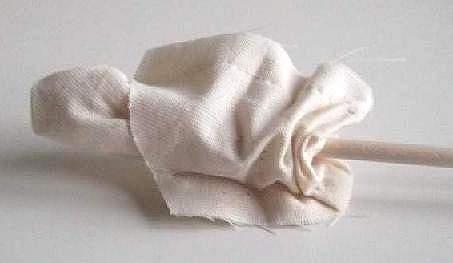 |
 |
|
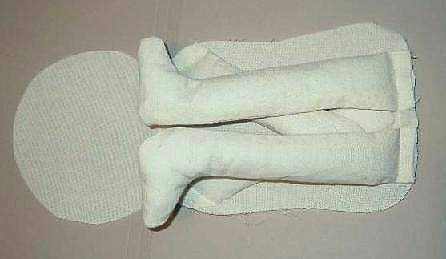
Use the skewer to gently poke the limbs through to the right side and stuff them a small piece at a time with polyester filling. Make sure that you fill the toes and the heal area properly but don`t over stuff. |
 |
|
|
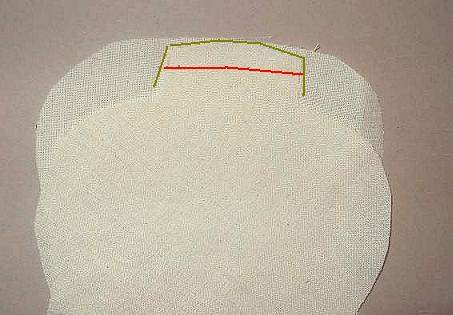
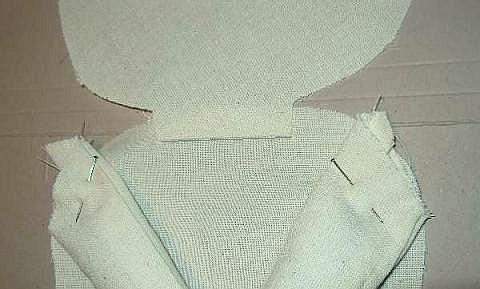
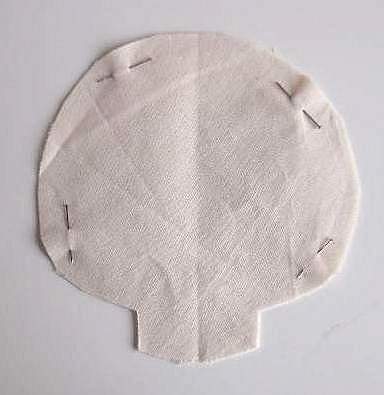
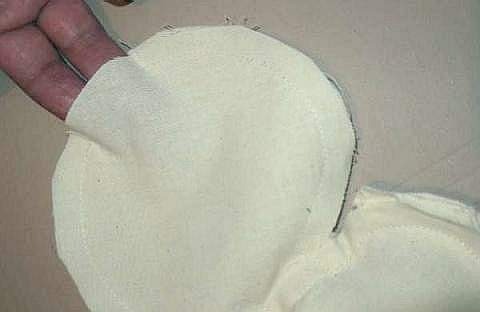
Attach the head to the body leaving a small neck and press the seam flat. (See the illustrated outline). Now pin the limbs where indicated. You can sew or tack the ends of the limbs onto one side before you pin the other side of body on top, if it helps to keep it all together
|
|
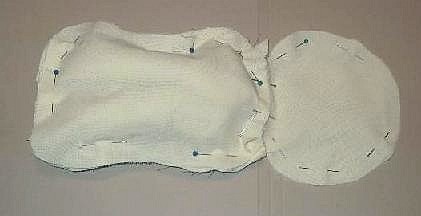
Make sure the limbs are tucked well in. You don`t want to catch them in when you are sewing the seams. Remember to snip the corner areas where they are marked with a pink dot. Leave a large gap at the side of the body and at the top of the head. You will need these 2 openings to fill the doll.
 |
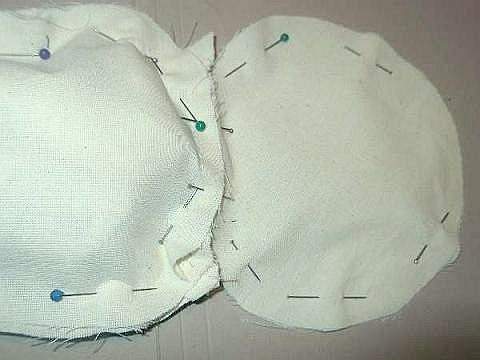
At this stage you insert a neck support using the 5 inch dowel. Enter in either gap and push it half way into the body and half way into the head. Now push polyester filling, as much as you can squeeze in, inside the neck area, padding all sides. This should tightly secure the dowel and stop it from coming out. |
Now fill the body and head. This time, stuff them quite well with lots of filling. When they are packed full, stitch up the holes. The head should be firm not floppy like the arms and legs.
Make a Doll Who`s Hair Can Be Styled |
|
When I was young I used to make my own dolls from rags and I always made them so that their hair can be platted, bunched and even cut. So I haven`t changed it seems.
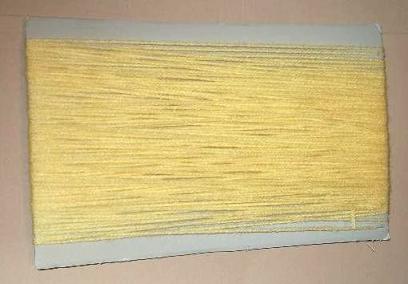
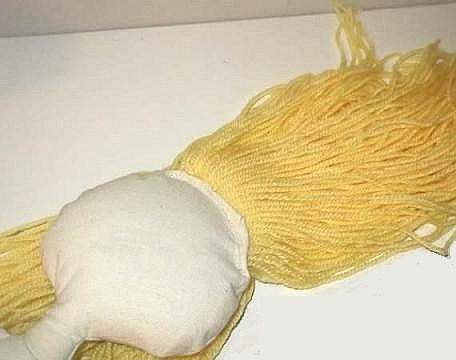
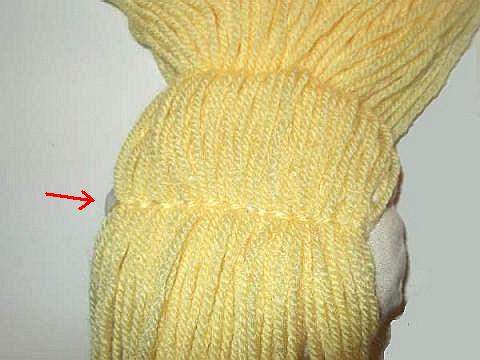
You need a 10 to 12 inch piece of cardboard about 7 inches wide. Wrap a thick layer of wool around it and then cut through 1 end. Hold the middle of the wool at the other end and place over the top of the head. Half in front of the face and half down the back of the head. At this point the front and the back of the doll are the same so it doesn`t matter which side you choose. Stitch the hair along the seam at the top of the head several times. Do not turn the doll over!
Thread the darning needle with a length of the same wool and half way down the head back stitch the wool onto it. Now you can take the wool covering the face and fold it over to the back.
|
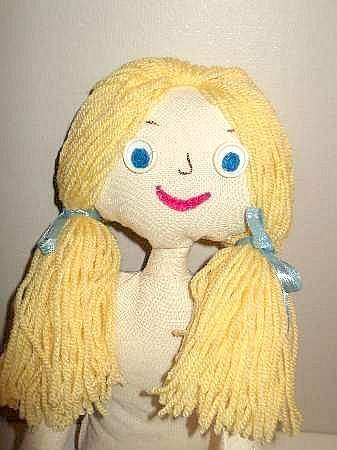
How to Make a Doll With a Beaming Face Download the free pattern to make doll clothes for Eleanor. |
 |
See our growing list of other sewing crafts here...