Making Doll Clothes
An Easy Tunic
Making doll clothes is a fun sewing craft. The outfits you make will bring you satisfaction, something that shop-bought costumes can`t bring, and you`ll treasure your collection just like a toy designer would.
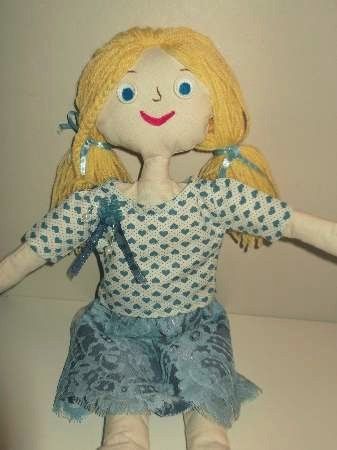
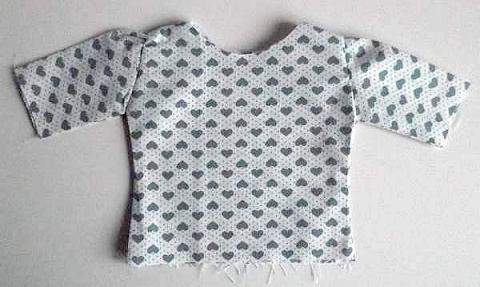
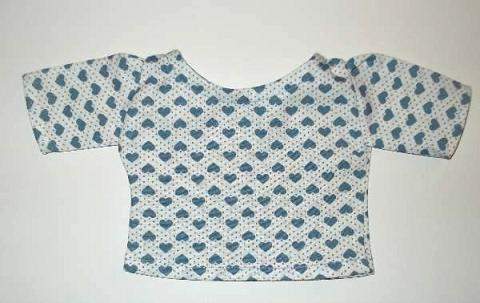
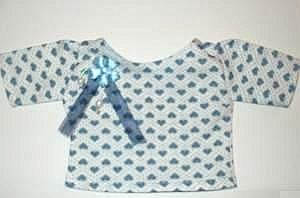
Ok! Now that you know how to make the skirt, you can try your hand at creating the tunic. Eleanor our homemade dolly, is posing them in the picture.
There is more involved in this project but you will soon gain the mastery of it. We are keeping it a little simple with no collar buttons or zips for our beginners.
Eleanor has a large head so the neck opening needs to be wide. She is also a rag doll and getting her soft arms into long sleeves is just a nightmare so I opted for short. But doesn`t she look nice!
Gather the materials and tools you will need first!
|
Materials |
Tools |
If you don`t have it, download the pattern to make Eleanor 1,and 2. You will need it to make the tunic and all the other clothes in this series. You can also download the pattern pieces if our method of pattern free cutting proves too hard. Just remember the seam allowances have already been added.
 |
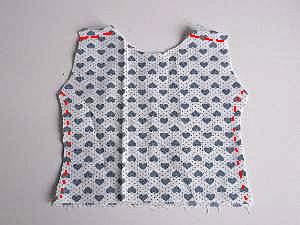
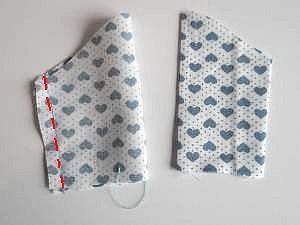
 Place the pattern for the body on a double layer of fabric then draw an outline of the shoulders, neck line, armholes, and sides. You need to add the seam allowances. |
|
Make them about 1/2 inch wide and remember that the tunic has to be fairly wide for it to fit the doll. Cut the pieces out. Now sew the back and the front together at the sides and shoulder seams. |
 |
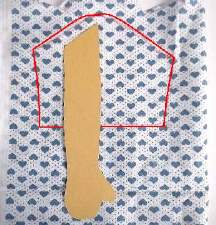 |
 Do the same for the arm but make it a short sleeve. |
 |
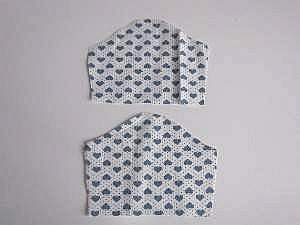
Notice the thumb side of the hand and arm run down the middle of the pattern, and that the sleeve is curved at the top, allowing for the shoulders. I have also made quite a wide sleeve but take into account that the top of the sleeve needs to fit into the arm hole on the body. Cut them out and fold them lengthwise matching up the side edges. Sew the arm seams and turn both out and press. Keep them turned out. |
|
|
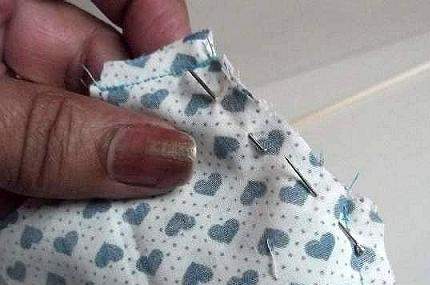
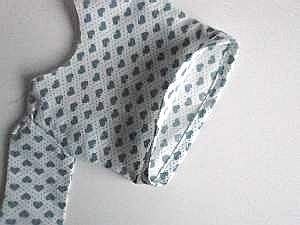
Take the sleeve and insert it into the armhole entering from the neck. Match up the edges and the side seams making sure the center at the top of the sleeve is aligned with the shoulder seem.
If the top of the sleeve happens to be larger than the armhole, just fold a tuck or pleat in it where it meets the shoulder seam to make it fit. Pin it in place and then back stitch it all the way around. Make your stitches quite small if you don`t want them to show on the outside.
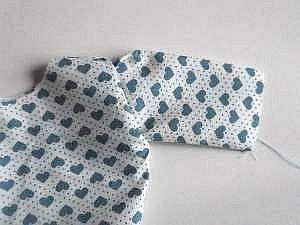
When you have done both arms, turn the tunic out and press it flat.
 |
 |
Double turn a narrow hem at the bottom and stitch close to the edge. Use a machine if you have one for quickness.
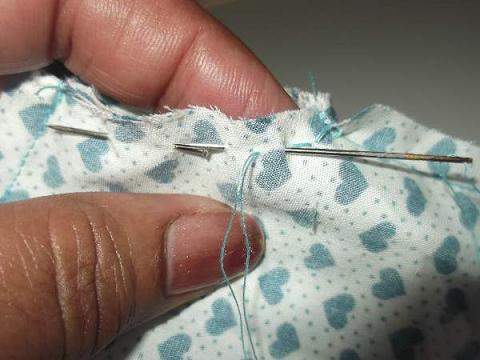
Do the same with the sleeves but these are a bit small for the sewing machine. Use prick stitch for them.
Again press your work when you finish this stage too.
|
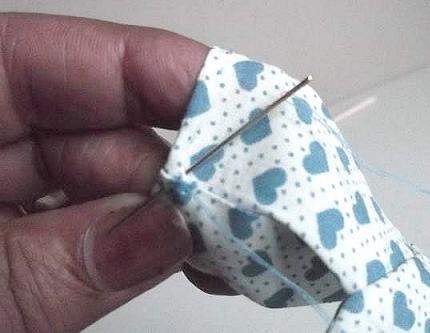
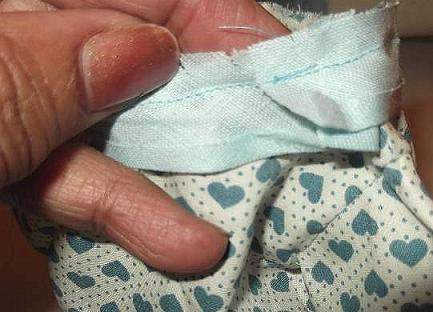
Making doll clothes can be a bit tricky sometimes and this is one of those moments. Cut a length of bias-binding, enough to go around the neck and overlap. Pin it along the edge of the neckline and stitch. You need to make little snips all along the seam allowance close to the stitching but be careful not to cut through them. |
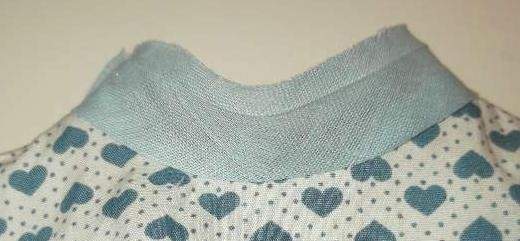
 This is so that your seam allowance can spread out around the curved neck line. |
 |
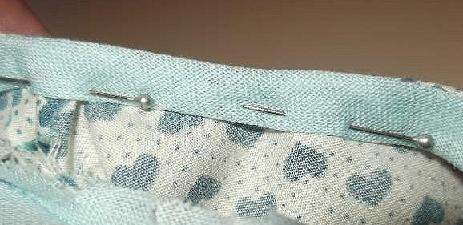 |
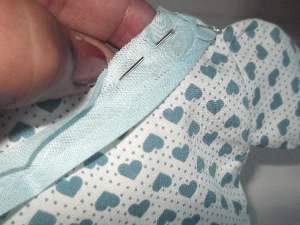
When making doll clothes it usually requires small turn-ups. Press out the bias binding to make smaller double turns. Pin it in place and hand or machine stitch.
 |
 |
Press the whole tunic and if you like, sew on a nice motif or embellishment. Now you can dress up Eleanor.
Making doll clothes can include bloomers and homemade dolly shoes, which my granddaughter always looks for on a doll to take off and put on. So to complete our rag doll`s outfit, click on the links and follow the tutorials.
Download the pattern for making doll clothes for Eleanor.
This is part of a sequence of articles in the Sewing Crafts workshop.