Easy Decoupage Projects
For You to Make
It`s nice to give a gift! Our decoupage projects come up with some bright ideas to give as gifts that will not only delight the happy receiver but make you feel good too. What`s more, they are easy to make. You can decorate boxes, picture frames, paper mache animals, jewelry boxes, desk tidies. Anything you like really!
|
Now to get started! Decoupage is simply cutting or tearing up pieces of paper, tissue, fabric, lace etc, and sticking the pieces onto an object to decorate it. The glue acts as a glaze so your object dries to a shiny finish. |
 |
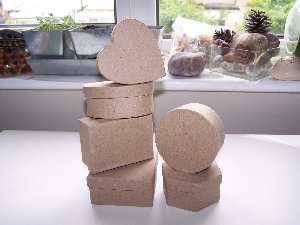 |
Paper Mache Gift Boxes What would you like to decorate? Choose an item in the house. It could be a small sturdy box, a wooden egg cup, a paper plate, even a wooden spoon which I know I have somewhere but can`t seem to find. |
You can buy some paper mache boxes from a craft shop for your decoupage projects. They are ideal for beginners, and just the right size to give mum some chocolates as a prezzie. But only a few! You don`t want her getting too podgy now do you?
Get some PVA glue or if you need to, special glue for decoupage. Have some water at hand to keep your brush from clogging up, and a paper or tissue of your choice. Look in your paper crafts scraps. I love these tongue twisters!
You can get special paper for the job or just use printed paper from a magazine that interests you. If you have some left over wrapping paper it would fit the purpose perfectly! Tear up some pieces to work with.
 |
How to Decoupage |
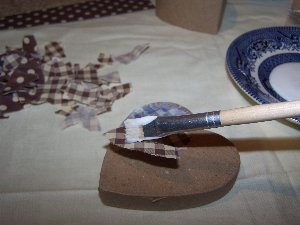
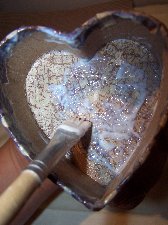
This is a neat trick to save fingers getting too
sticky, and stick it on, smoothing it out from the middle to avoid any
bubbles forming. Don`t over worry about this as usually they disappear
when the glue dries.
|
Keep working like this until all your item is covered. If you are decorating boxes, just lap over the edge to get a nice finish but be careful not to add more than a double layer of paper. You want your lid to still fit the box! |
 |
|
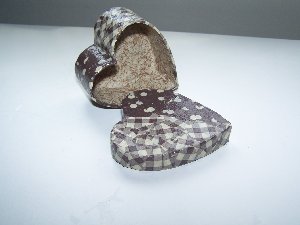
Contrasting Colors Try different colored pieces for the inside to contrast the outside. I used similar colors for my box. Once it has dried you can try the lid. If it is tight, don`t add another coat of glue. But if it is still loose you can give it another pasting. Now your done! |
 |
 |
Other Decoupage Projects |
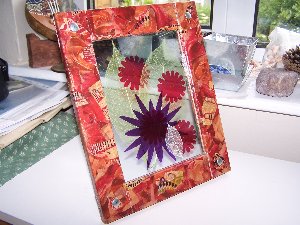
I have had this wooden frame for a long time. I bought it and put it aside until I had an inspirational idea for it. Now I found one.
|
Prepare before you start as above, tearing some paper ready for the project. You will need more paper than you think for this object. |
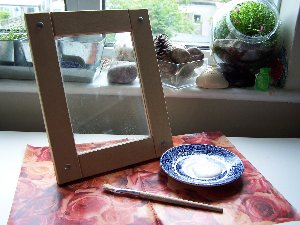 |
Remember that you are overlapping paper all the time, so allow for papering a larger area. I used all of the rose paper you see in the picture. This frame also comes apart but for convenience, I decoupaged it as it was, standing.
 |
As you can see, I left it to dry by sitting the glass part on my box. This way it would not get stuck to the worktop. I then used a razor knife to cut around the edges to peel off the excess paper from the glass. |
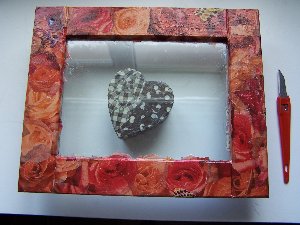
This photo frame comes apart so I had to cut between the grooves to separate it. This part must be done by a responsible adult because razor knives are very sharp.
|
The double glazing was a added bonus for my project. I sandwiched some skeleton leaves and colored cellophane flower cutouts between the glass to make a pretty collage that the sunlight could shine through. |