Our Mouse Crafts
with Some Ratty Critters
Finding materials to make a mouse was fun. In fact, for our mouse crafts we will create all different kinds of this cheeky critter.
|
Mouse crafts From Egg Boxes |
 |


If you can`t find the same type, try and make the head from a rolled paper cone with the ears stuck on.
|
Collect together all the following items to make it. |
  |
 |
Cut out the head with the ears attached from the egg box. (See the marked line in the illustration) |
Choose the lighter colored paint and completely cover the head back and front and the toilet roll tube. Leave it to dry, or borrow your mum`s hair dryer and blow it dry for quickness. Give it a second coat if necessary.
|
Once it`s dry, take the darker paint and paint the inside of the ears and the tip of the mouse`s nose. While this is drying you can work on the body. First make the legs and feet. To do this cut the felt into 2 lengths, long enough for 2 pair of legs. See illustration. |
 |
 |
Cut out feet with 3 toes at each end of the lengths and then apply glue along their centers and stick to the underside or belly of mouse`s body. PS. In the picture I have already attached the head but don`t do this just yet. |
Make a tail by sticking the piece of wool or string inside the end of the tube at the top. Leave the pieces to dry near a radiator while you work on the head again.
Fix the googly eyes in place and punch a hole on both side at the end of the nose. Cut the pipe cleaner into 3 even pieces to slot them through the 2 holes and create the whiskers.
 |
 |
To make 2 front teeth, cut 2 indents off the embossed edge of a paper
plate which look great as teeth. To separate them cut along the line but
not completely, just enough to separate them.
|
Then fold forward the end
and glue just inside the bottom edge of the head |
 |
The mouse is almost finished. Paste the top half on the front edge of the tube with a good helping of glue and stick the head just over the edge.
 |
The cardboard tube is much bigger than the head so the head won`t fit
over it, but that is just fine because it makes the mouse look like it`s
smiling and ready to nibble whatever it can feed its eyes on. Leave it
to thoroughly dry and then slot him over a small bowl of empty nut
shells. |
 |
Did you know egg boxes are actually made from paper mache? Sometimes fruits are packed in this material too or in polystyrene. It doesn`t matter which, because there`s a hidden mouse shape you can use to make this funny little critter. This is our next mouse crafts project, and it`s one suited more for the boys! |
 |
 |
|
We have cute mouse craft critters and gruesome rats as well but we love making them all. Try this KKC paper mache rat made from a pear carton if you can find one. |
 |
Pierce a hole in the fat end once you cut out the shape. Tie several knots at the end of a piece of Scoubidou or just a length plain wool or string will do and thread it from the inside out to make a tail. With a darning needle, thread some twine through the nose 3 times to make the whiskers.
|
|


 |
I used a large bead for the nose, 2 pink sequins for the eyes, and pistachio shells for the ears. I always save stuff like that. They are great for crafts. Use a glue gun to attach them. |
|
Last of all, cut little pink felt feet and stick the ends to the inside and your rat is ready to place on the stairs ready to give mum a fright! |
 |
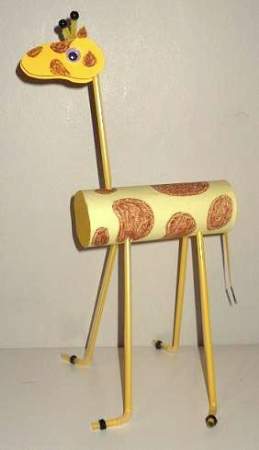 |
Make this cute giraffe made from straws and a cardboard tube to add to your animal crafts. |