Make Homemade Board Games Easy
|
Make homemade board games that are simple. Small children can play this first game. You don`t need your printer for the board face. You can even create the back for your board without a printer. What you need
|
  |
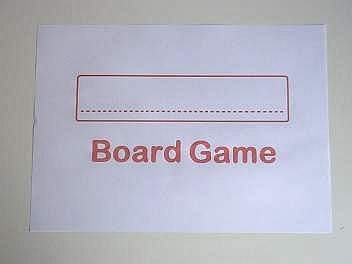 |
Give your board game a name first. Use one sheet of the white paper and draw a nice design or just leave a box for the name of your game and Board Game underneath in bold letters. You can also download our template and write in any name you like after it`s laminated. Turn the design face down on the table when you are finished and place the other white sheet of paper on top. |
|
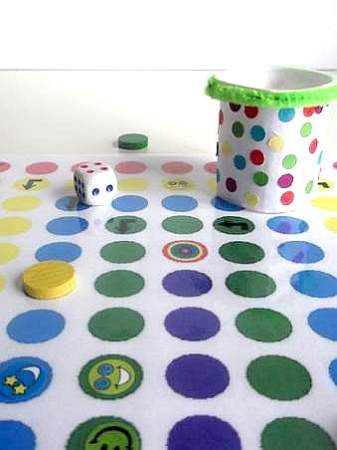
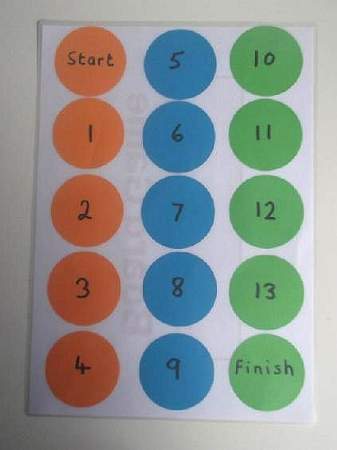
Cut or punch out 15 circles from your choice of 3 different colours of paper, that is 5 circles in each colour. Place them into 3 rows, spaced evenly on the white paper and number them. In the first circle write "start" and in the last write "finish", then place both sheets carefully in the laminating pouch. |
 |
 |
 Set the temperature to the type of pouch you are using and wait until the green light shows it`s ready. Now slide the sheets in carefully so as not to shift the circles. |
The board is finished but you need to make up some game cards to play with. To make a board game with flash cards is a terrific idea. it really works well with children.
|
Make Picture Flash Cards Depending on what your game is about and sticking to one theme, have the children cut out a few pictures just the right size for the cards. They could be about animals, toys, cartoon characters, or anything they choose from catalogs, old books, magazines, or even those annoying fliers that are constantly posted through your letterbox. At last you can at least find some good use for them! Once the pictures are cut out the children can stick them onto the cards. |
 |
Next group them into 3 levels, orange for easy level 1, blue for harder
level 2, and green for tough level 3. Mark the levels on the back of the
cards with markers in the 3 colours.
Without showing the children the card, an adult can ask them to guess what is on the other side. Whoever gives the correct answer can move their checker or button 1 circle forward. Once a child has reached the next level then ask them to guess pictures from the next level of cards.
Caution!
Small objects can choke a child so be careful that children do not put them in their mouths.
|
Homemade Board Games For Older Children Now to make a board game for older children. Using circles again but smaller ones, 135 to be precise, the older children can throw a dice and move around the board through the colour zones until they reach the bulls eye. You will need:
Once you have downloaded the game board pattern and the back name sheet then place them back to back in the laminating pouch and laminate then write the title of your game. |
Spiral square Board Game Pattern Click on the image below to download.  Title Sheet Click on the image below to download.  |
With all the KKC homemade board games we have a title sheet. You can write the title in after they have been laminated so that when you want to change the nature of the game you can wipe it off and call it something else.
Make up your own rules. Mark circles that give bonus throws or ones that cause a player to miss their turn to throw. Again, stickers can be removed when you want to change to another game.
Here is suggestion:
Make random circles a bonus or danger point by sticking a smiley over them. If you land on a happy smiley you gain 2 steps, but if you land on a mad-eyed one you have to go back to the beginning of a colour zone, or all the way back to the start.
 |
The Dice Pot Here`s how to make a cup for throwing dice with some of your homemade board games. Wash out a mini yogurt or petite frais pot thoroughly and when it`s dry strip off the surface layer of the label. the sticky back will cause some of the paper to stay which is great. We need this as a base to stick another layer of plain white paper. |
|
Cut a strip wide enough to cover the pot and to go around it. Paste some glue onto the pot and wrap the paper around it. Let it dry! Punch out enough coloured dots from the scrap paper to make a design and stick them on. When they are dry, cut off the pot`s rim and stick the pipe cleaner around the edge as a finishing touch. Now are you ready? Roll the dice! |
 |