A Paper Boat That`s Waterproof!
Have you ever made a paper boat that floats, but not for long? Soon it gets soggy and that`s the end of the fun. Well me and my KKC crew came up with an idea and are going to show you how to make a waterproof boat!
|
Yes. It will at least last all day if you don`t plan on playing sinking ships. This is an easy summer craft that takes about 15 minutes to make and the rest is fun and games outdoors in a paddling pool or along a small stream.
Caution: Make sure there is adult supervision anytime children play in bodies of water.
So let`s begin! Follow the picture tutorial for easy construction.
|
|
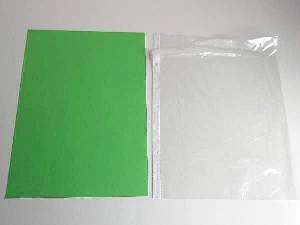
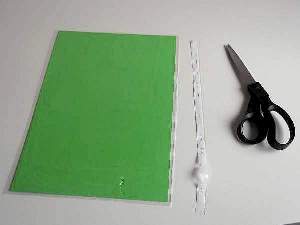
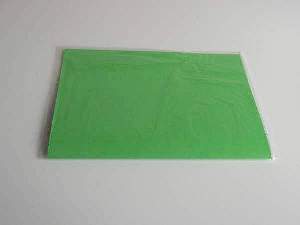
First we bought some really cheap A4 punched pockets for documents from our local pound shop. The cheaper the better as cheap ones are usually very thin and work the best for folding. Place an A4 sheet of colored paper inside the pocket and cut off the punch holes as near as you can to the seal line.
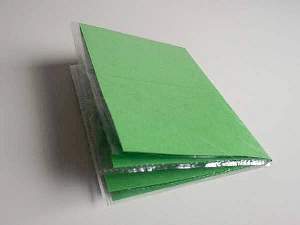
Pretend that the see-through pocket is invisible. Now fold your paper in half and crease it, then make another fold to quarter it and crease it.
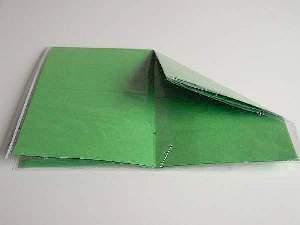
Now open up the second fold only. Take one corner at the folded side and align it with the center crease. It will make a triangle. Do the same with the opposite corner.
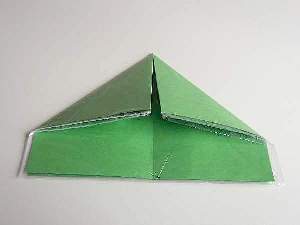
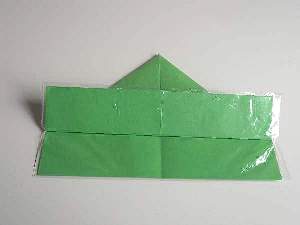
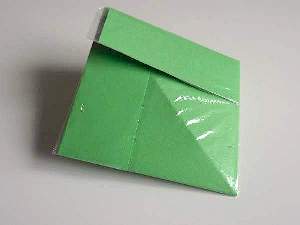
Next, take the top layer at the open end of your paper and fold it right up to the triangle edge. Turn it over and repeat the process.
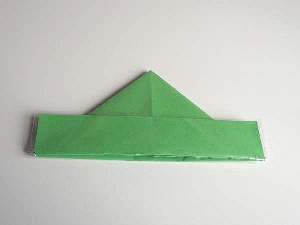
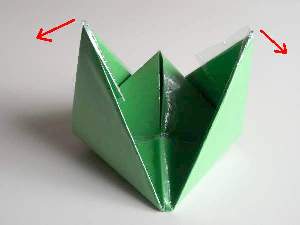
It looks like a hat at this stage not a paper boat, but be patient. Put your fingers in the opening and pull it apart as wide as you can until the shape flattens. Tuck the loose corners one behind the other, lay the shape flat on the table and press to make sharp creases on all the fold lines.
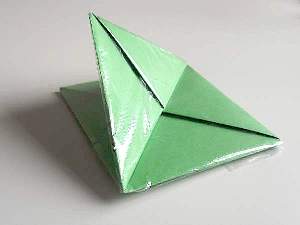
When you have finished pressing, take one of the open corners and fold it over to the opposite corner and press to crease. Flip the shape over and do the same. It should now look like a triangle. Again, pull the open edges away from each other as far as you can until the form flattens and press on the table. Do you have a square? Well done! The next move will make this shape turn into a paper boat.
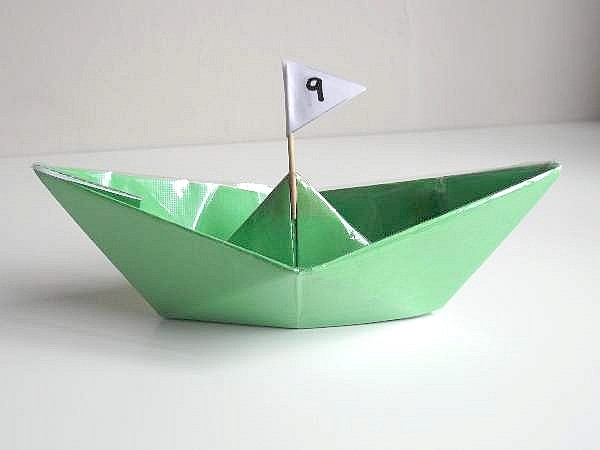
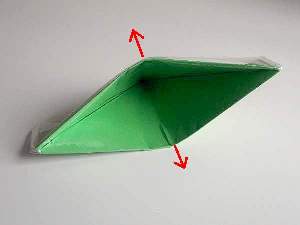
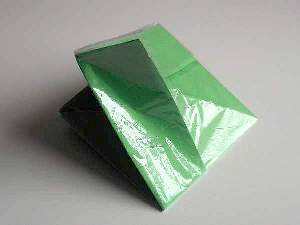
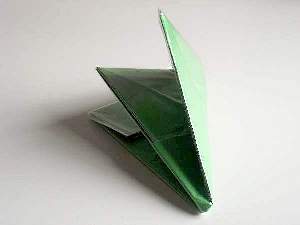
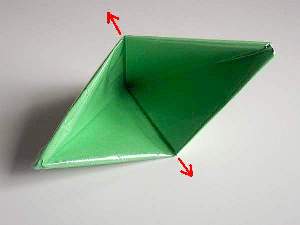
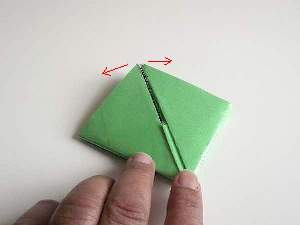
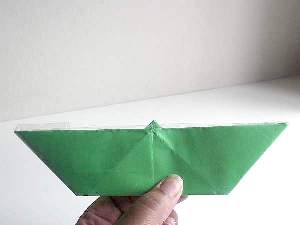
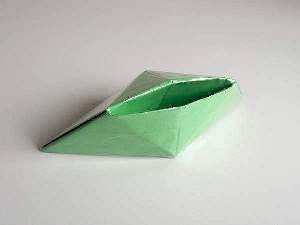
You are now going to pull the two top corners sideways from each other. As you do, you will notice that a peak is coming out from inside. This is the boat mast. Keep pulling until the shape flattens and then press it on the table. Open up the bottom of the paper boat to help it float. Time to make the flag with a number.
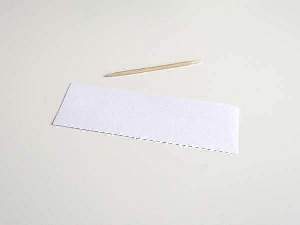
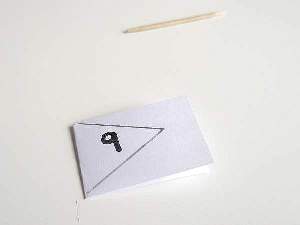
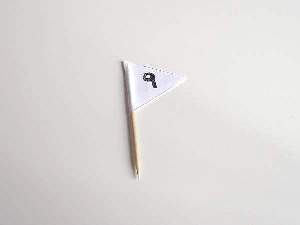
You will need a cocktail stick for the flag and a 2 x 1 inch strip of white paper. Fold the paper in half and draw a diagonal line from each corner to meet in the middle. Cut along both lines. Choose a number for your boat and mark it on both sides of the flag. Paste some glue inside and stick it around the cocktail stick. Almost there! Place the cocktail stick down between the center folds of the mast and stick it in place with clear adhesive tape. To stop your boat from leaning to one side, place a small pebble in the opposite side.
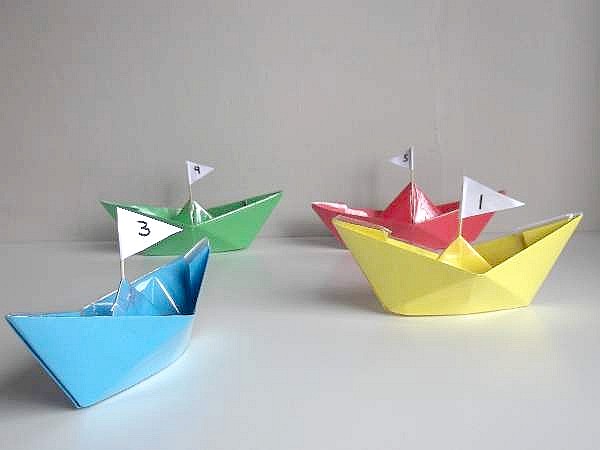
Now your paper boat is finished, get together with some friends and have fun racing them. You can blow them along using straws or paper fans.
If you love making things to do with holidays or vacations then click your way over to our summer crafts page.

