Paper Plate Lion Projects
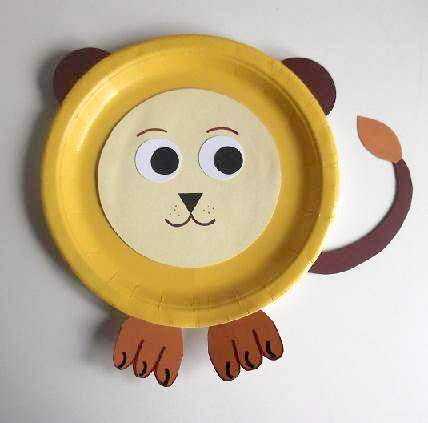
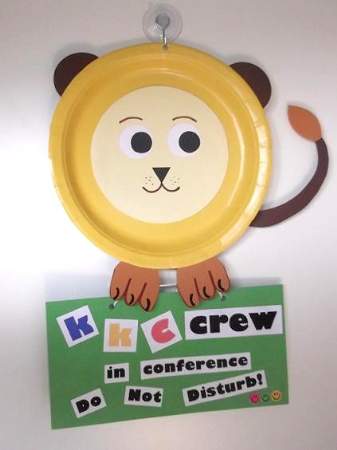
Here is an easy to make paper plate lion. Later you can try and make the mask which is a little bit harder.
|
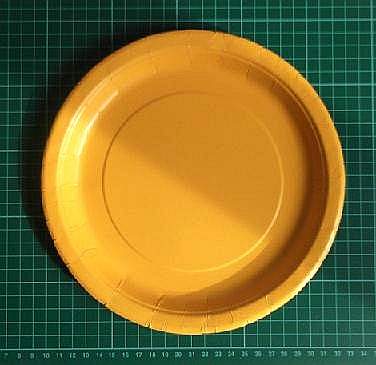
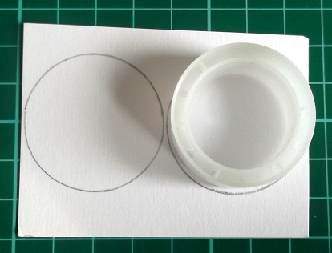
Let`s play with circles. You can make this cute lion using 4 different sizes and colours. First find 4 items in your home that you can use to draw out the circles. The items to the right are just a suggestion. There are so many things that you could use. You just need to search for them. You may have a compass which can be used to draw all the different sizes. |
Tools & Materials
|
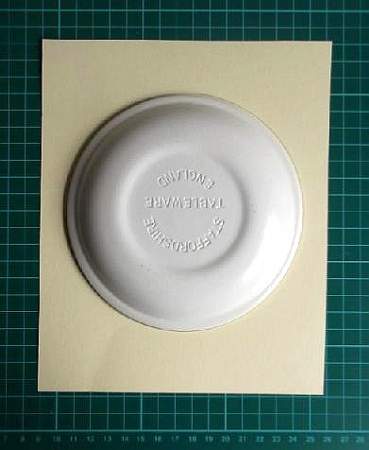
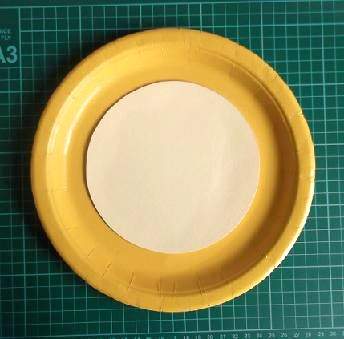
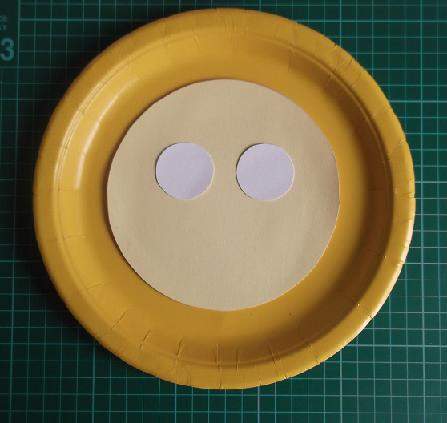
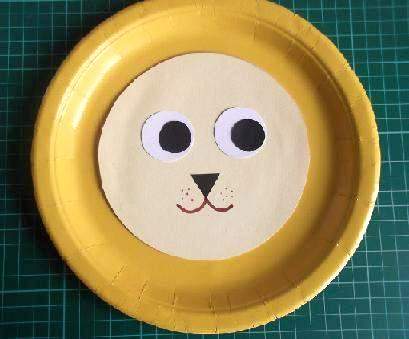
All right, are you ready? Place the saucer face down on the cream card or paper and draw around it. Carefully cut it out and stick it to the center of the plate.
Now do the same with the small roll of tape but this time place it on a white piece of card/paper and draw two circles then cut them out.
|
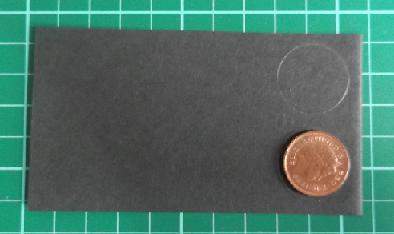
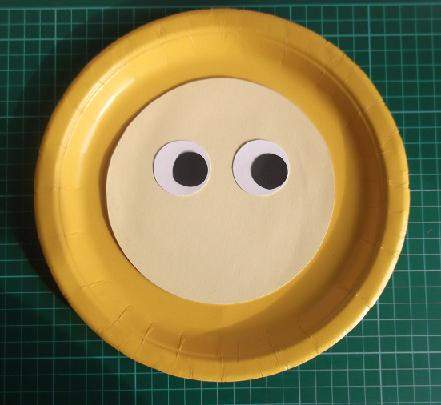
These are the eyes so stick them on the face first. A smaller coin can be used to make the pupils of the eyes. Cut those from black card/paper and stick firmly in place. Spread the glue sparingly and it will stick almost immediately. |
|
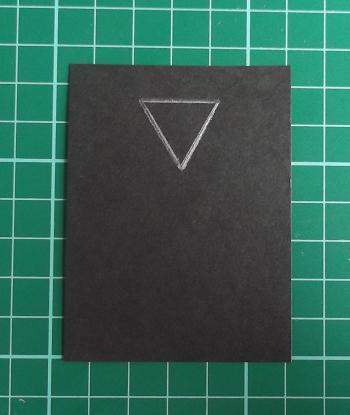
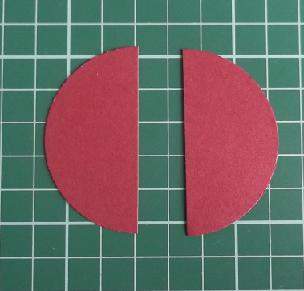
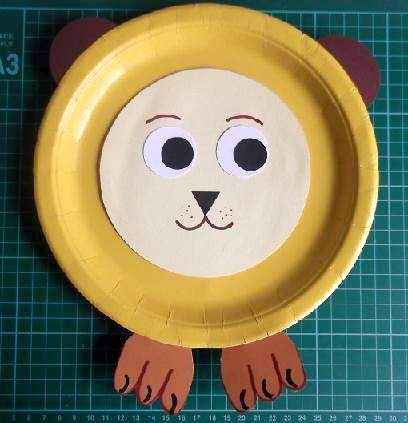
The ears and the nose are next to be cut out and attached. Make a small black triangle for the nose and stick it upside down, quite a bit away from the eyes. You now need a black or brown felt tip pen. Starting from the bottom point of the triangle, draw a curved line down and out towards the right and one to the left. Cut out the circle for the ears and cut it in half. Apply a little glue to the straight edges and attach them just behind the lip of the plate. Now your paper plate lion is beginning to look the part. |
|
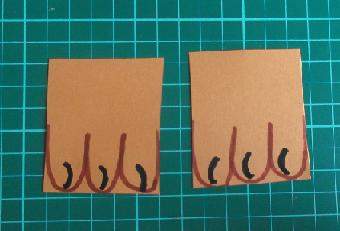
Paper Plate Lion`s Feet and Tail |
|
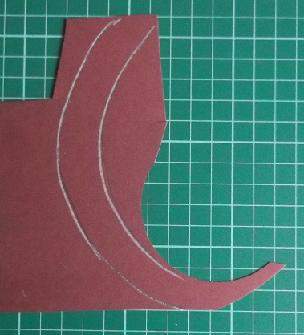
Now cut out a long curved tail and an oval from a contrasting colour for the tuft and stick it to the tail end . Apply glue to the other end of the tail and attach it to the back of the plate. After it all dries you can fix your cute paper plate lion onto the wall. |
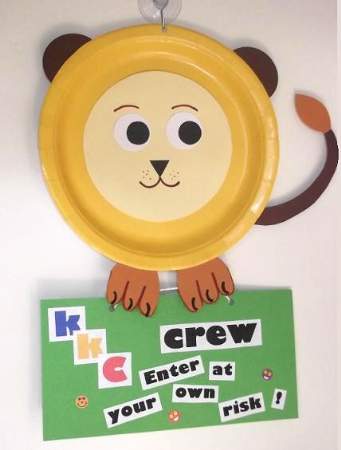
Here is how to make the "Do Not Disturb" tag.
Cut a 1/2 inch strip of card and curl it at both ends like a scroll to make hooks. Cut it in half and paste a thin layer of glue to the ends of the hooks and stick them to the back of the lions feet. (see the illustration)
Next cut out a good sized card and punch 2 holes along the top. Thread and tie a piece of string through the holes. Write your message on the back and the front and loop the string over the hooks. Punch a hole at the top of the paper plate lion and hook it up with a sucker onto your room door.
Love paper plate crafts? So do we!
