Stained Glass Suncatchers
to
Play With The Light!
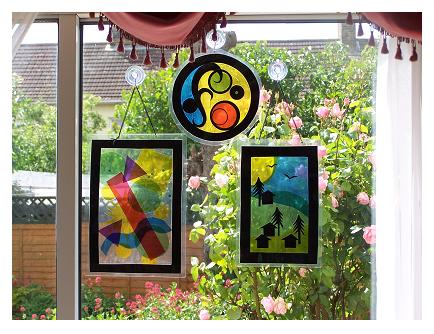
Playing with color is great fun and these stained glass suncatchers can turn a project into a dazzling work of art. Let`s see how we made them.
 |
You will need: |
A black frame, shapes and dividing lines give a window picture a bold
stained glass art effect, so use black A4 sized card. You can use black
paper too because you are going to laminate it.
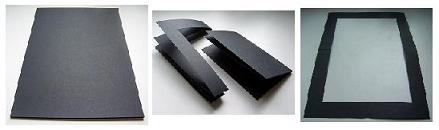
Fold the A4 paper into four and scale it down by cutting off 1 to 1 1/2
cm. That way if will fit nicely inside the laminating pouch. If you
want to make a smaller window picture you can half your card to fit an
A5 pouch. Use a ruler to measure the edge that is to be cut off so that
your frame will look strait.
With the paper still folded, draw
another line 2 cm in along the edge of the 2 cut sides, but don`t cut
the folded edges. You will know if you have done it right when you open
it up into a frame.
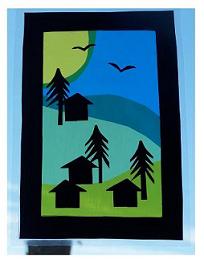
Don`t throw away the pieces that is left over if you are making stained glass suncatchers like my landscape one. Your silhouette shapes can be cut from them.
Whatever theme you choose you can cut some shapes from the black paper that will stand out. You might choose a theme picture of the moon, so a spaceship and spaceman would be good shapes to make. Or you might choose to make a seaside picture. That would be interesting with lots of sea creature shapes.
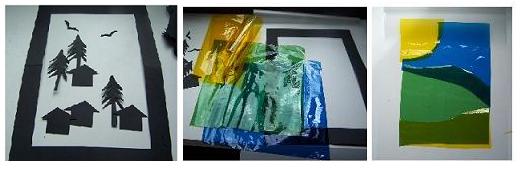
Once you cut out your shapes, place them in the frame just to see how the picture will look. When you`re satisfied, put them to the side and choose the right colored cellophane or tissue paper for the background. I chose green, blue and yellow cellophane which gave me different shades of green when I overlapped them. You can see in the top picture that I have used 5 colors and they created so many new colors and shades when overlapped. If you don`t know what colors make other colors this will be a nice learning project for you.
Cut abstract and round shapes to make your picture interesting and fun. Now open the laminating pouch and place the shapes where you want them. Put the frame on top making sure they the shapes are all inside its boundary.
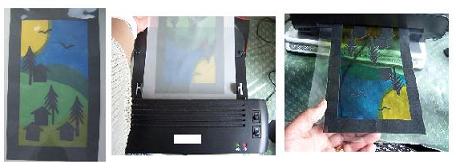
Laminating Stained Glass Suncatchers
Next, on go the silhouette shapes, close the pouch and turn on the laminator. If you are young you need an adult to supervise this part of the project.
Once it has reached the temperature and the green light is showing, place your stained glass art carefully on the runner and adjust the guiders so it goes in straight. When it emerges you will see a nice clear effect that will create an effective light display.
Punch out 2 holes for your string and hang it on the window using the sucker. Look at your beautiful light catcher! Why not make several stained glass suncatchers for a nice colorful light gallery? Then all you need is the sun! When we eventually get some in England this summer I will post some brighter pictures. There was no sun when I took these shots.
|
We will be making quite a few during our Kool Kids Crafts Summer Workshop and look forward to displaying a light gallery. |
 |