Make a Calendar For Next Year
Many years ago most kids were shown how to make a calendar at school to give as a gift to mum or dad. But this paper craft seems to be disappearing. Everywhere people tend to buy them, and what fun is there in that?
|
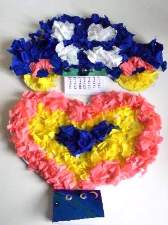
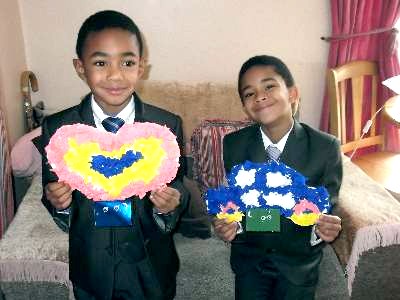
Well we are going to break the status quo rules and make one. What will you choose? A heart? A car? ...or a pretty butterfly? Think of something you really like, and then choose what colors you will use. The materials is left to your choice. I used paper, sequins, glitter, and beads, but the boys used crepe paper to make their heart and car calendars KKC style. See "Make a calendar 2014" for more ideas. |
 |
 |
No matter what you decide will be your subject the basics are the same. You will need a piece of cardboard. It doesn`t need to be too stiff to support the paper. I chose a large A3 size and the boys used A4. |
|
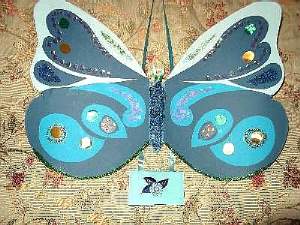
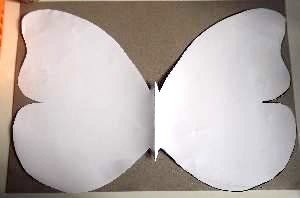
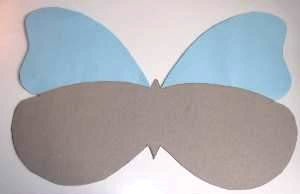
How to Make a Calendar For the butterfly or the heart, the right and left side of your picture need to be identical, fold a sheet of paper the same size as the cardboard, and draw one half then cut it out. My butterfly is a good example of this. Now all you do is open it up and use as a template to draw an outline on the cardboard. |
 |
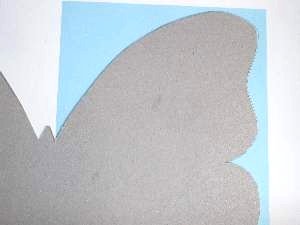 |
Cut the cardboard shape out and your ready to start the decorating stage. |
|
It`s ok if you don`t get it accurate, later the areas where cardboard is still showing can be decorated over. 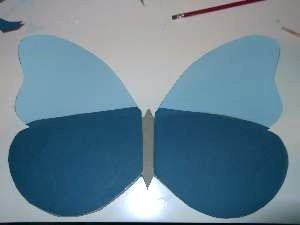 |
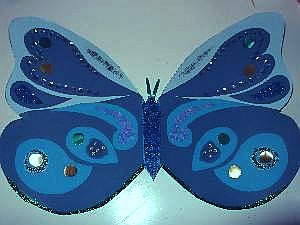
 The next stage is to decorate with whatever materials you like. If you noticed, I have cut out curvy shapes from paper to give my butterfly some markings. I also used loose glitter for a more dramatic effect rather than glitter glue. |
|
Time to Decorate! Make a calendar from an A5 sized cardboard or smaller and you have a wider variety of materials to choose from, such as seeds, lentils, beans, or paper mosaic. Fabrics and wool are superb textured materials to use. Also you could use sand or crushed egg shells. |
 |
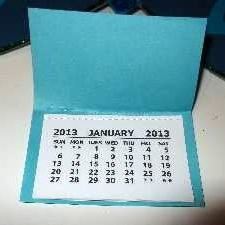 |
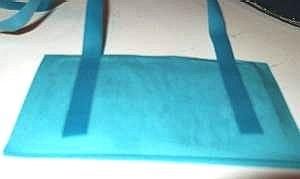
When the decorating has dried, make a cover and paste it on to the back of the date tabs. Fold it over like a book cover and decorate that too. |
|
Double over the ribbon and stick it to the back making sure the two ends extend below the bottom. Now all you do is stick those two ends to the back of the tab. James` mum was so happy when he gave her his heart! |
 |
Frog Calendar
Make a calendar with bright frogs sitting on lily pads! (click any photo to expand the size in the gallery)
Here`s how...
 |
 |
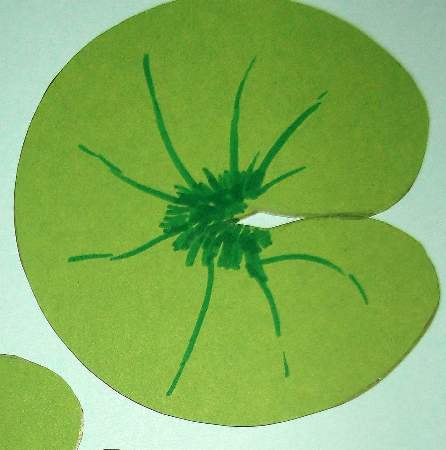
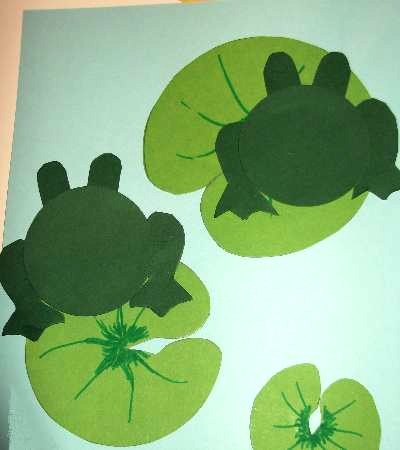
To make a green lily pad draw a fat C shape and cut it out. Draw lines coming from the center. You can do 2 or 3.
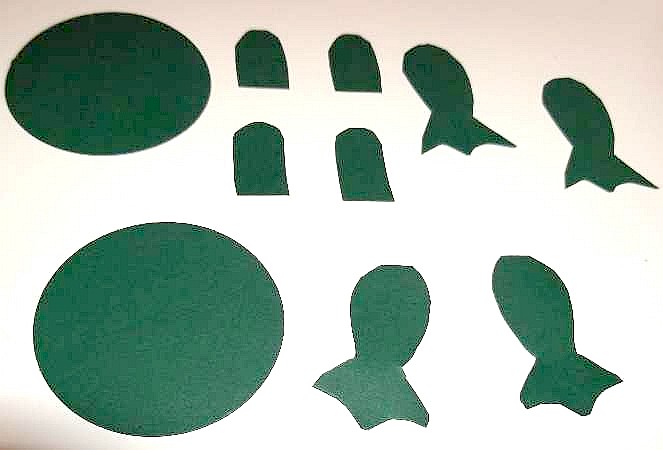
Now cut out dark green frog shapes to make 2 frogs and stick the pads and then the frogs onto a contrasting card, size A5
 |
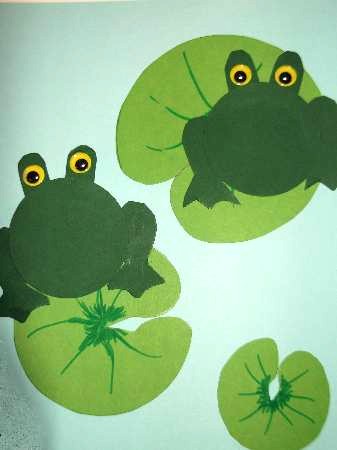 |
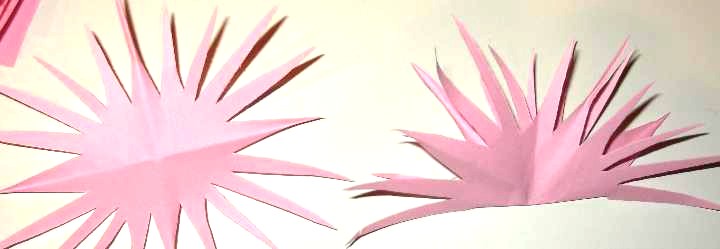 Fold a pink piece of square card into 4 squares and cut some petals out towards the center. Open up half and stick onto calendar. make some yellow spots by punching holes in a piece of yellow card and using the small circles, stick them onto the frogs bellies. Then draw them smiling. |
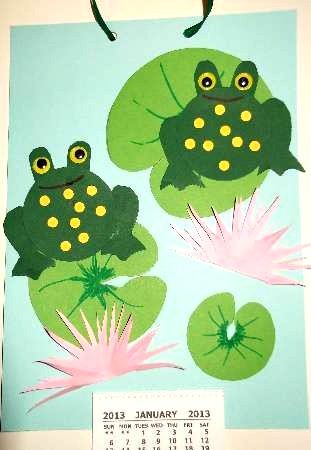 Now all you need to do to finish it is to stick on the calendar book, punch two holes, centered at the top, and thread through some ribbon to hang it up. |
Get ready for more paper craft projects here